How to get started with Swift Testing
You’re more of a video kind of person? I’ve got you covered! Here’s a video with the same content than this article 🍿
Advertisement
Emerge Tools is a suite of revolutionary products designed to supercharge mobile apps and the teams that build them
👉 Check out their website 👈
And they also have a blog with free high-quality iOS content
Sponsors like Emerge Tools really help me grow my content creation, so if you have time please make sure to check out their survey: it’s a direct support to my content creation ☺️
In this article I want to tell you everything you need to know to get started with Swift’s new testing framework: Swift Testing.
We’re going to cover the main features of Swift Testing, but also its differences and improvements when compared to XCTest!
Overall, most of the differences between Swift Testing and XCTest share one common trait: Swift Testing leverages all the modern features of Swift, whereas XCTest couldn’t because it had been written back in the days of Objective-C.
Creating a test
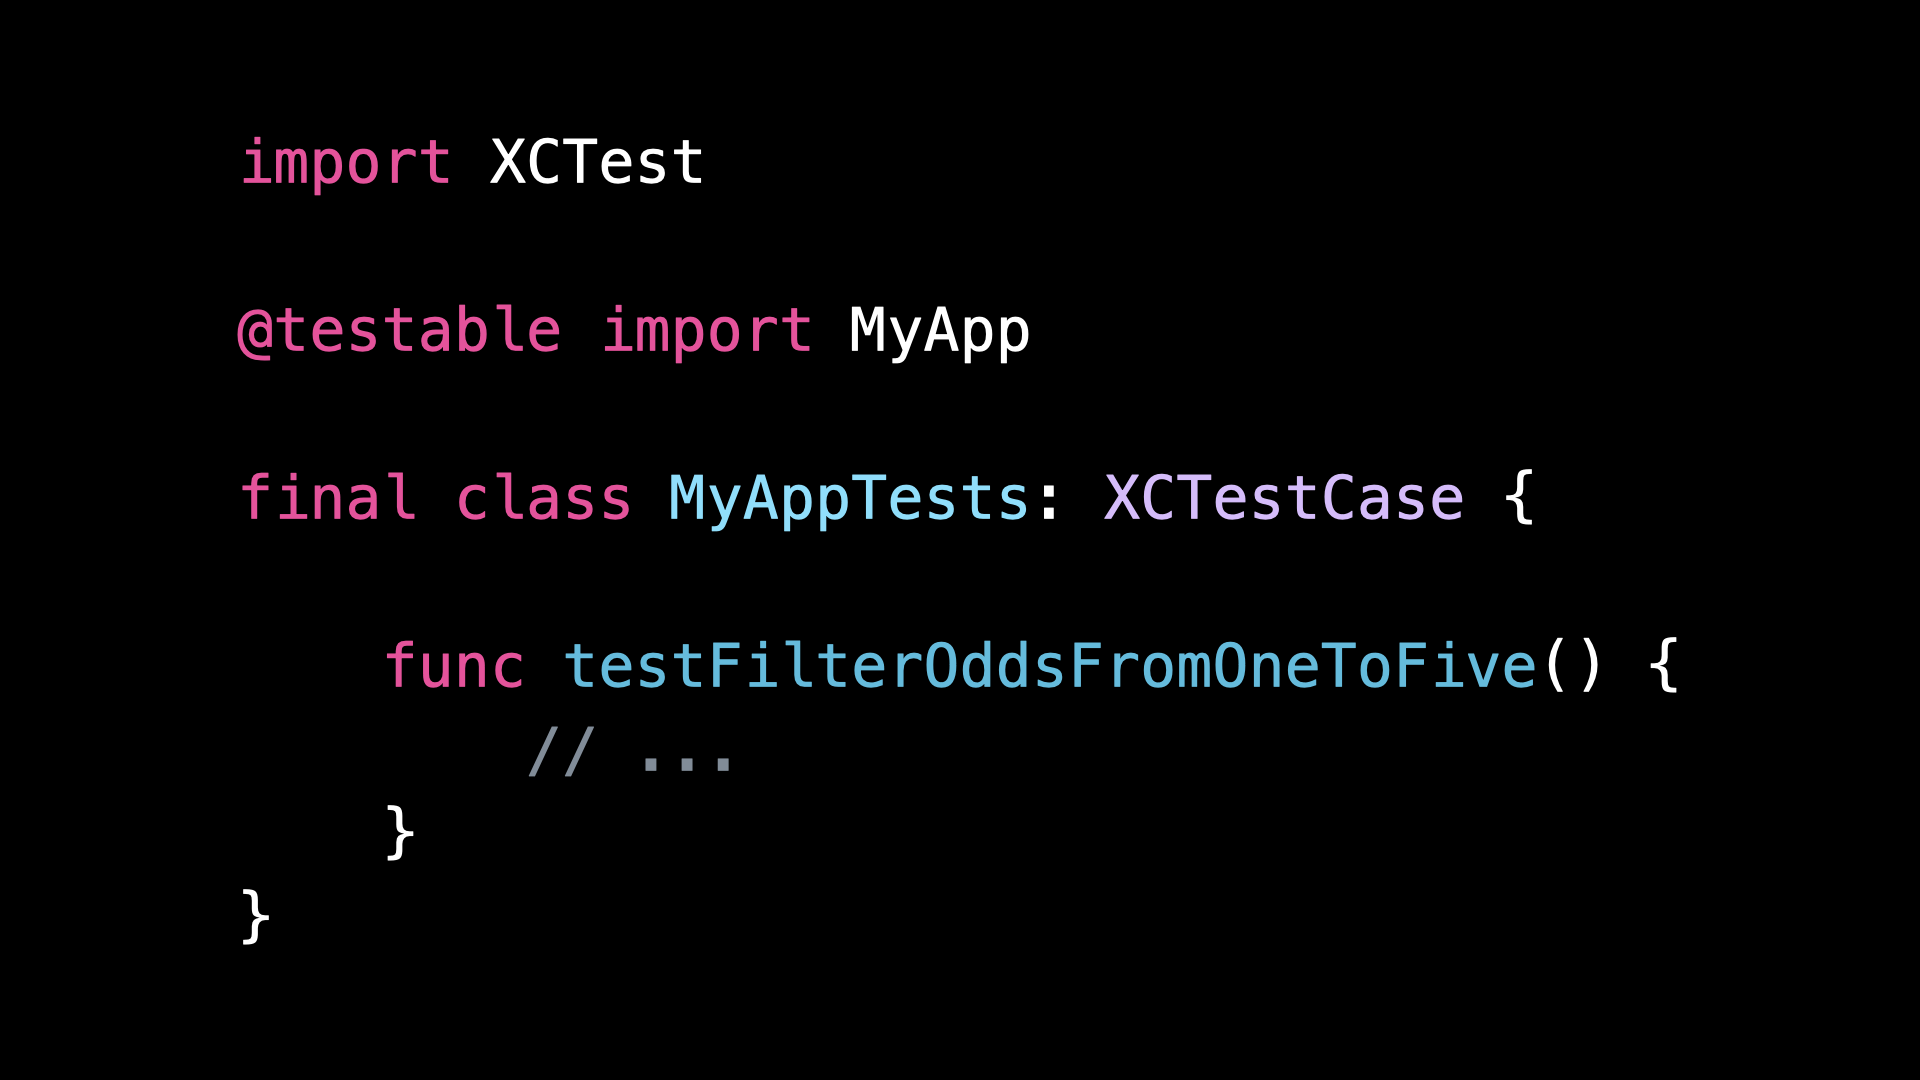
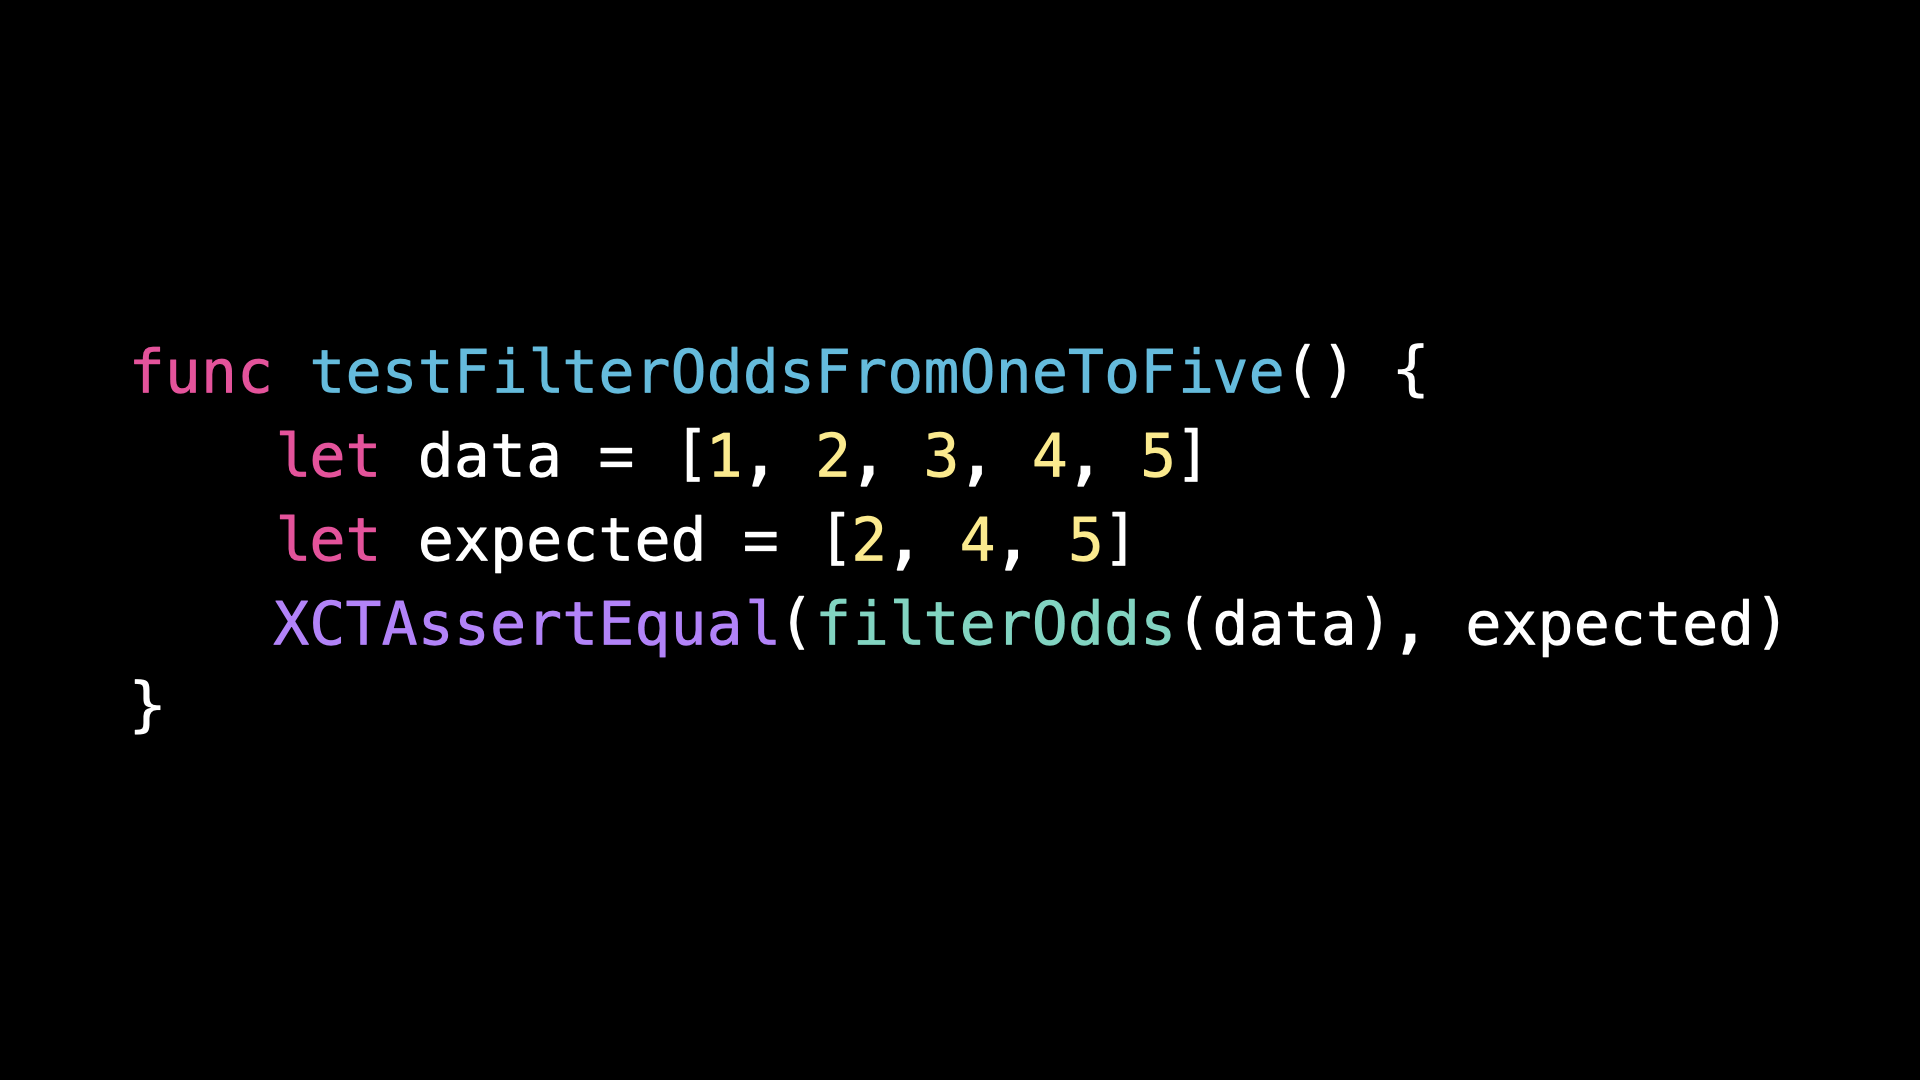
For instance, to declare a test XCTest would rely on the naming convention that the function name should start with “test”:
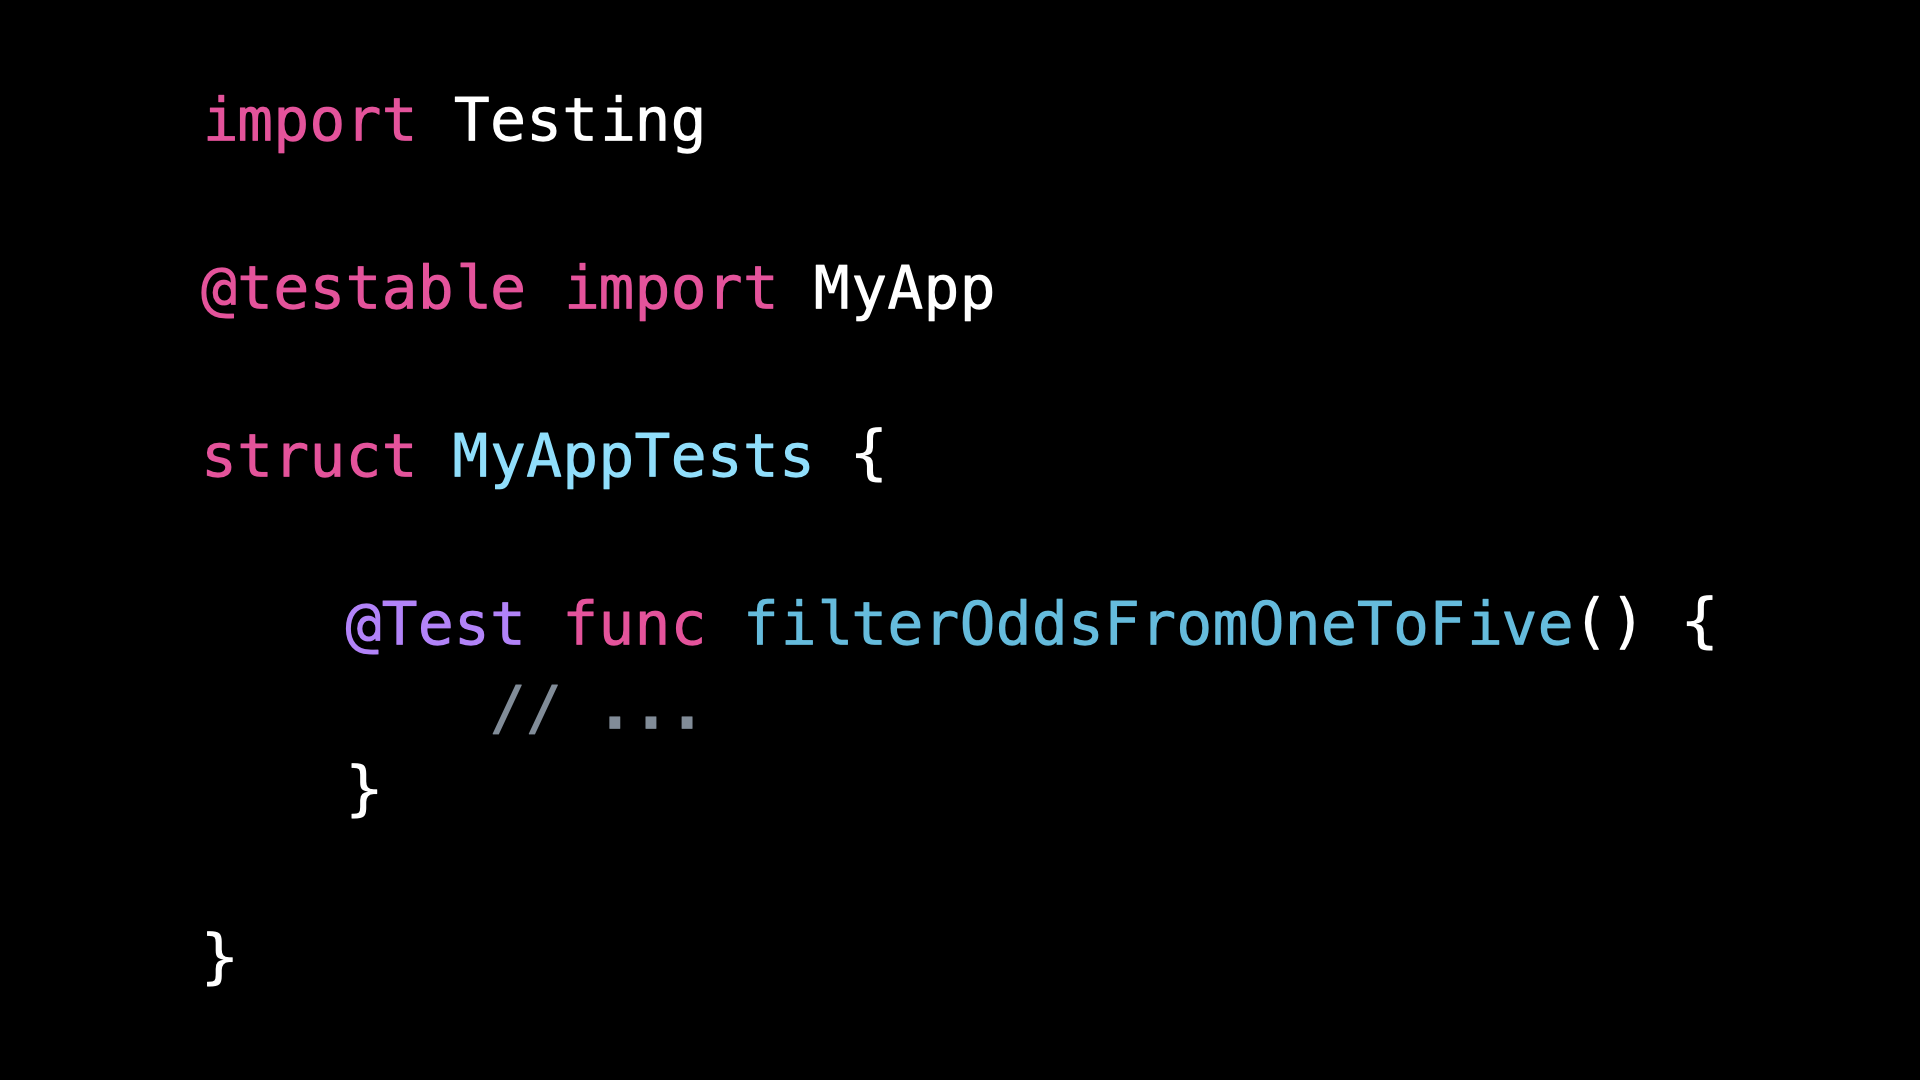
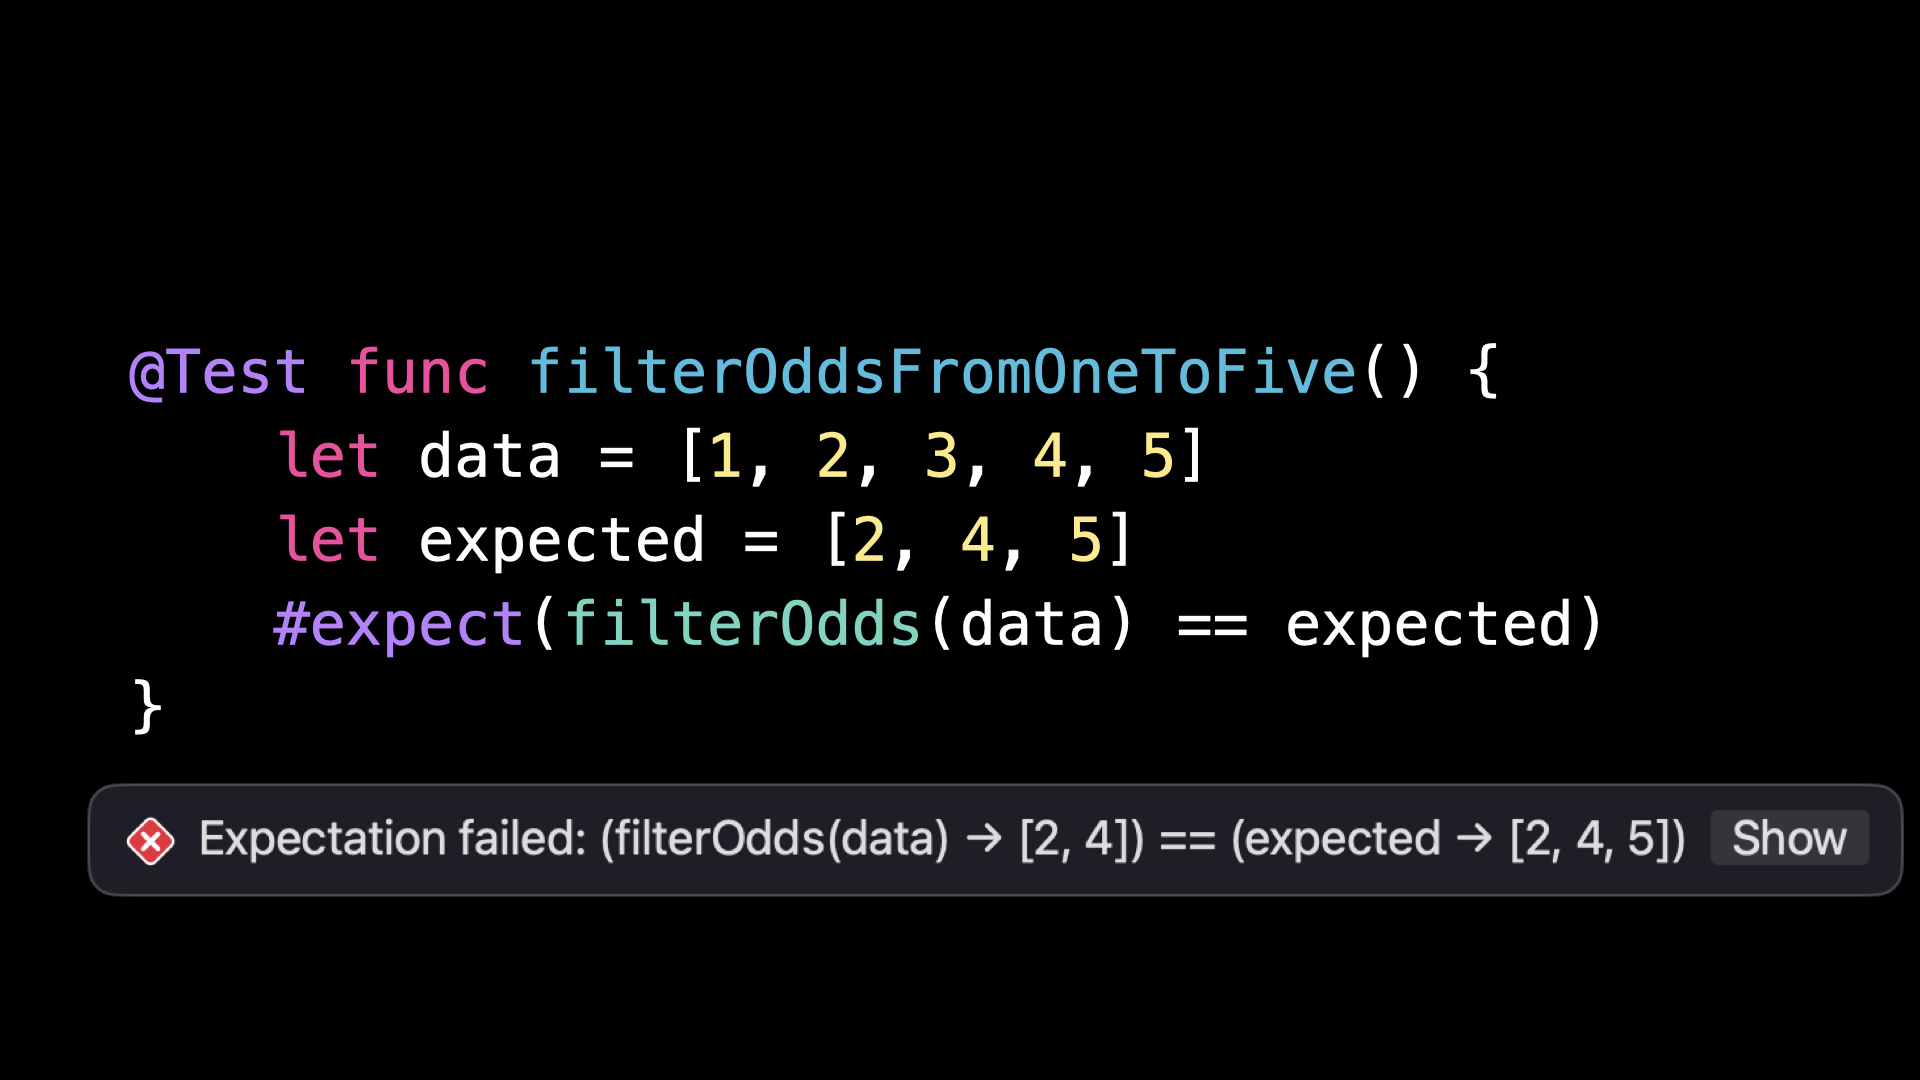
On the other hand, Swift Testing doesn’t need to rely on such conventions: you are free to name your test functions however you want, because you’ll be annotating them with the macro @Test in order to indicate that they’re indeed a test function:
Now let’s see how you implement assertions inside a test.
Writing an assertion
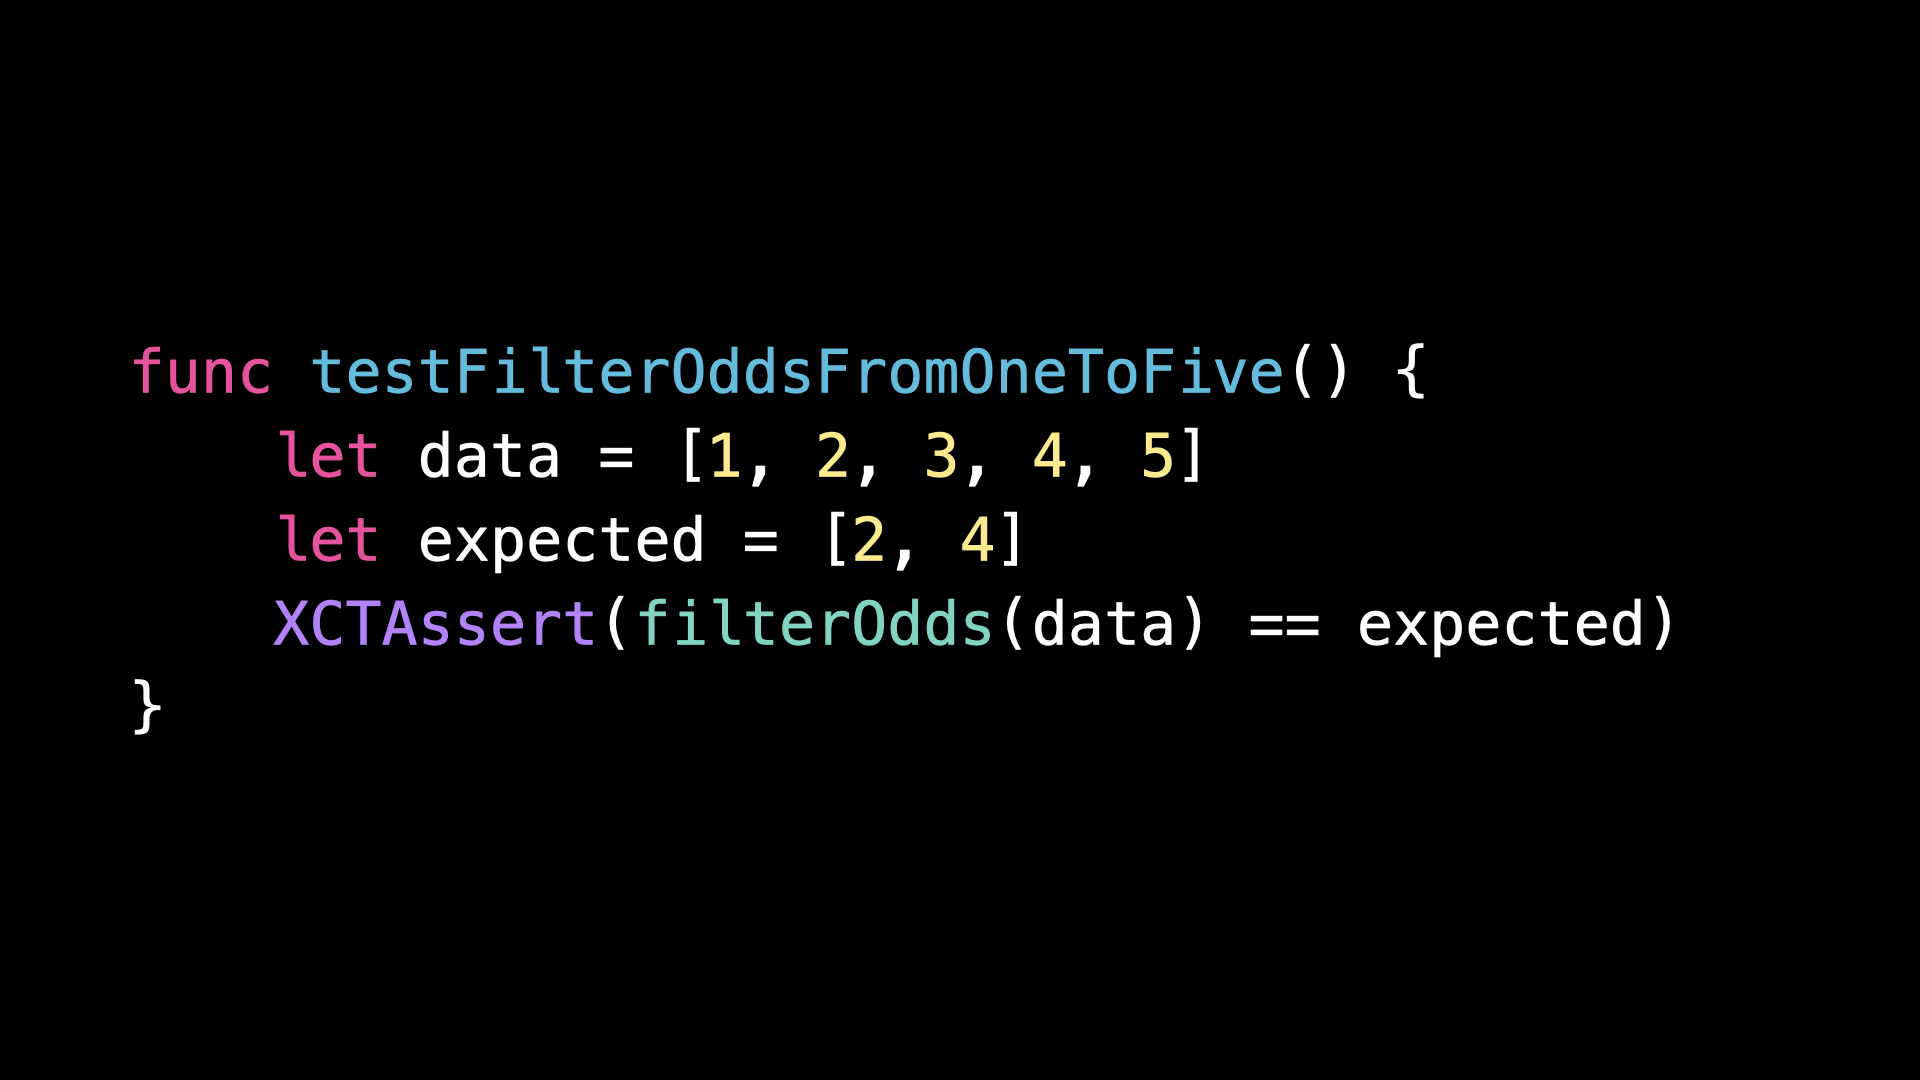
In XCTest, the most basic way to write an assertion is to use the function XCTAssert() and pass a boolean expression as an argument:
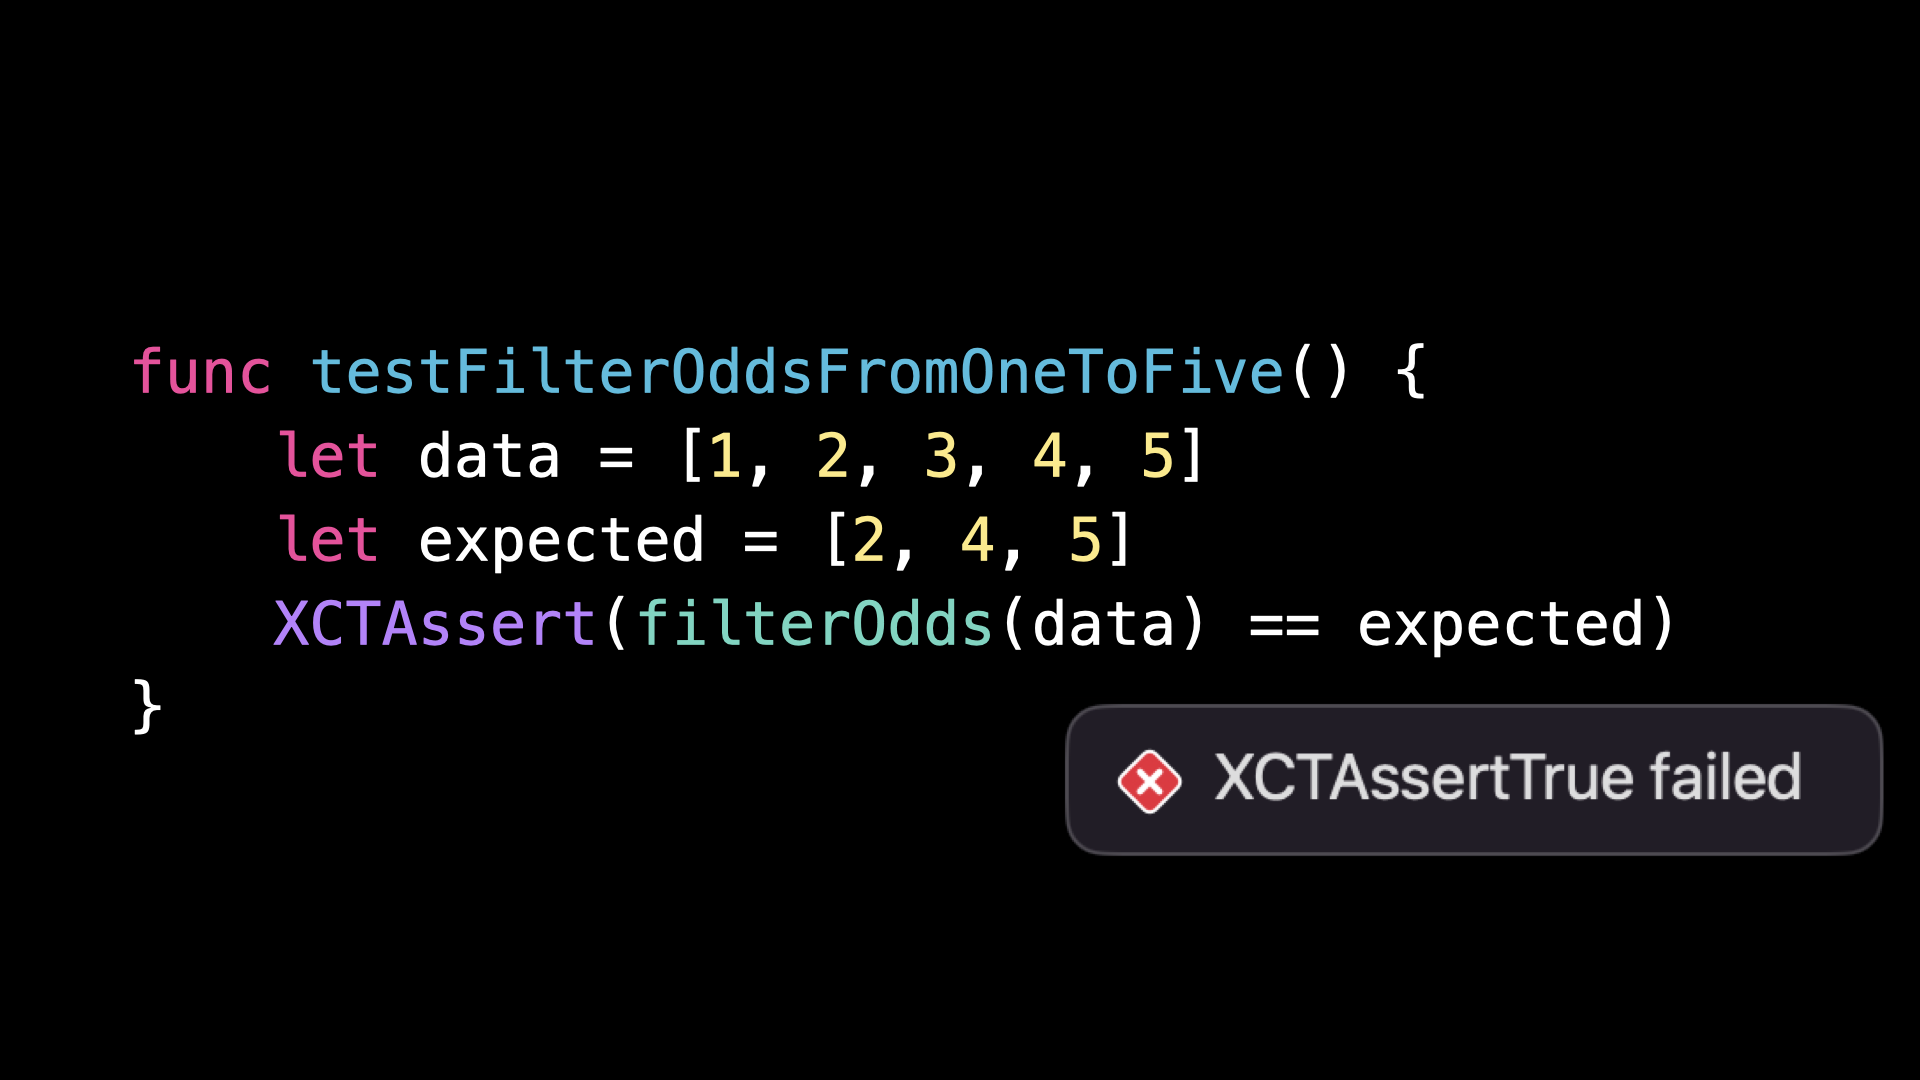
However, when the test fails, all that XCTest can tell you is that the assertion was false when it should have been true.
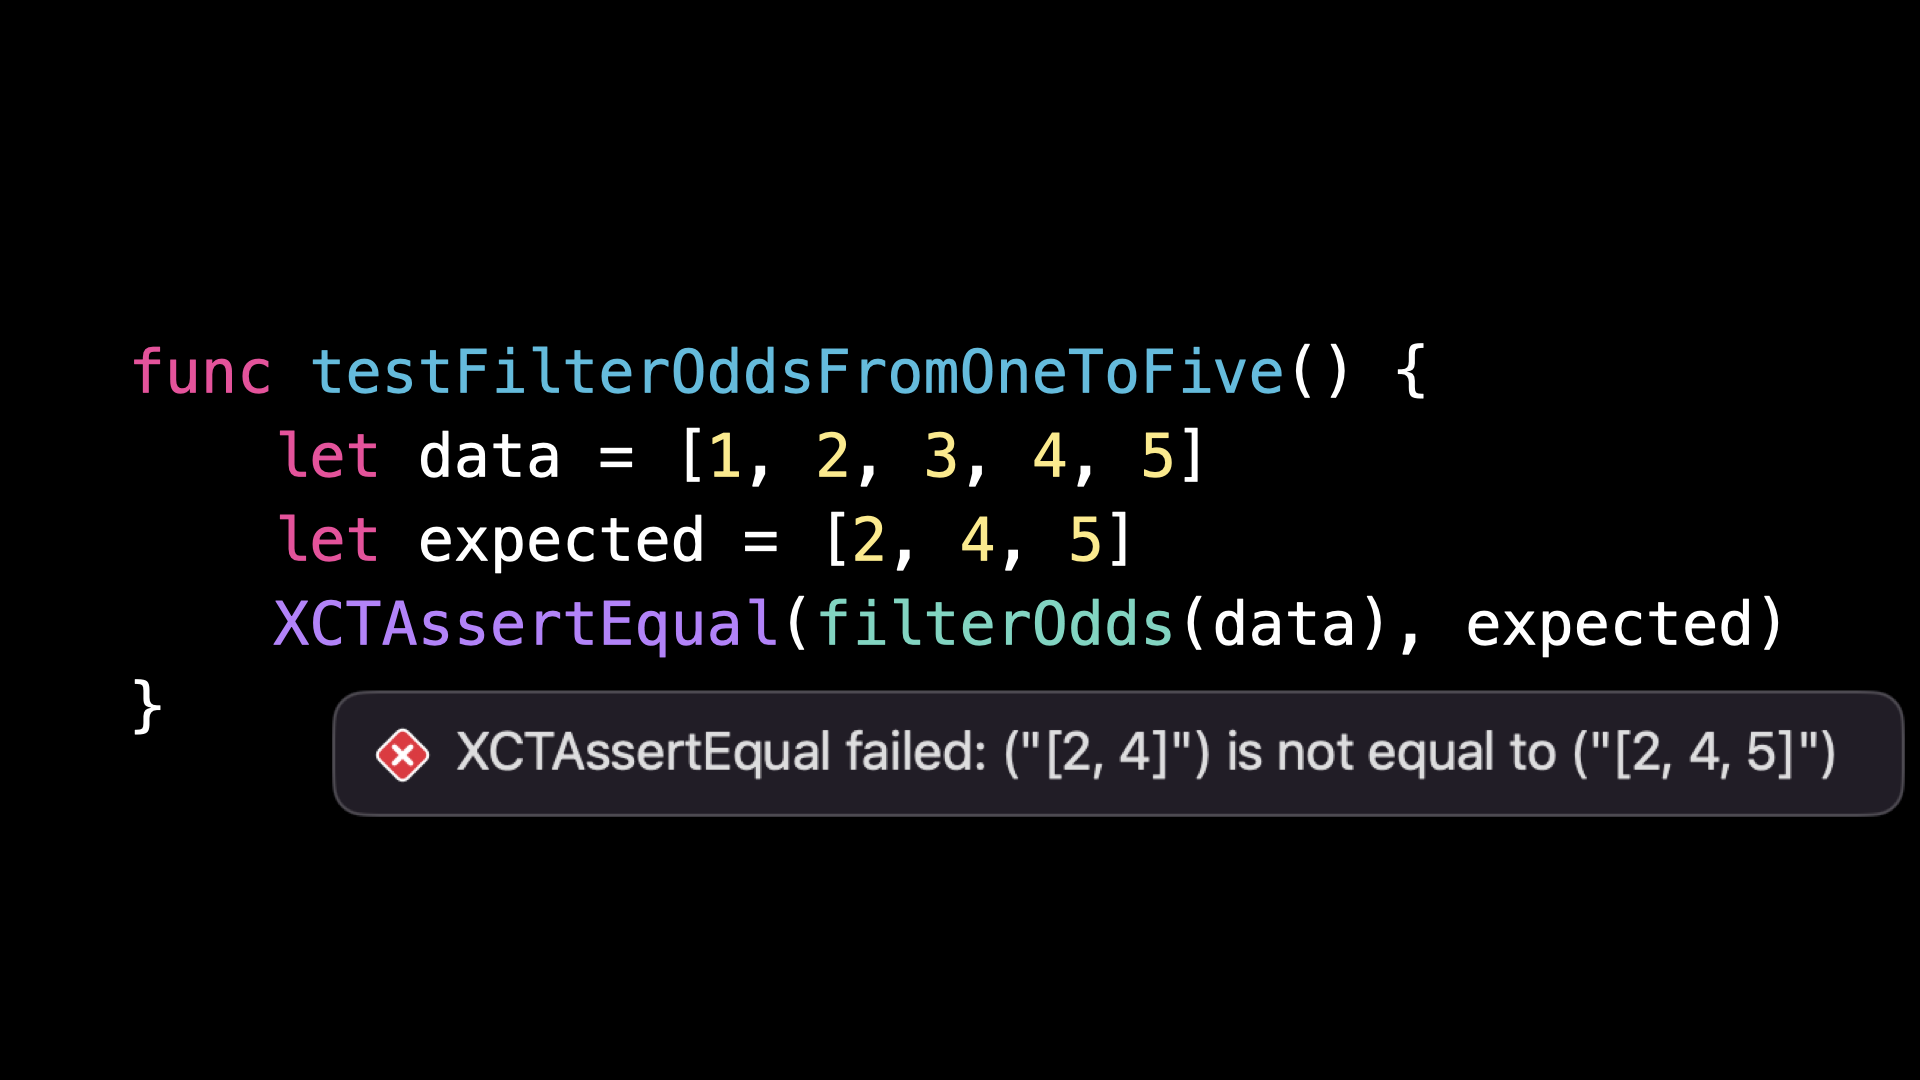
In order to get a more actionable failure message, you have to use more specific assertion functions, such as XCTAssertEqual():
These functions require you to break your boolean expression across several parameters, which in turn allows XCTest to have better semantics at its disposal to report more precisely what caused the test to fail:
With Swift Testing, all assertions are written using the macro #expect():
And since #expect() is a macro, and not function, it can access the entire source code of the boolean expression that you’ve passed.
This allows the macro to understand what’s going on and to generate an actionable message should the test fail, without asking for any extra effort from the developer:
Dealing with optionals
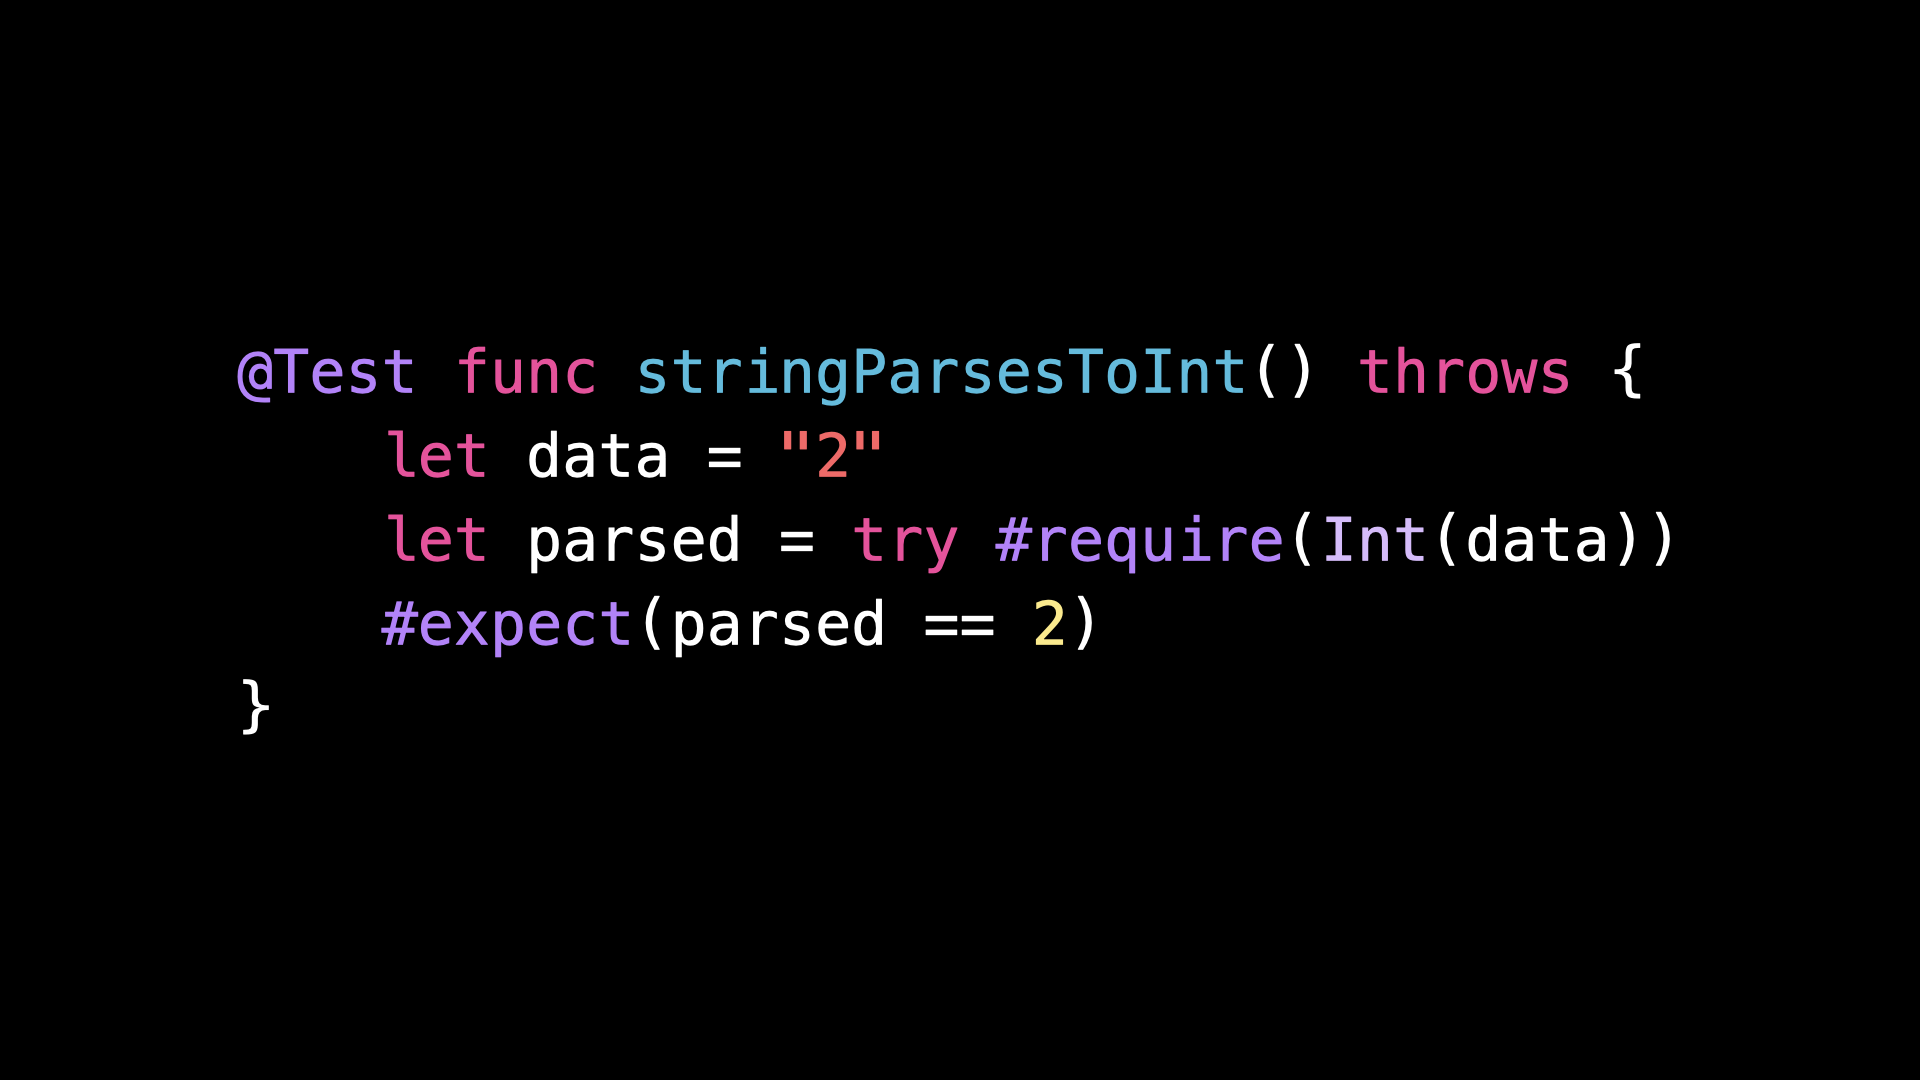
Speaking of macros, Swift Testing offers another very useful macro called #require():
This macro behaves very similarly to the function XCTUnwrap().
It takes an Optional as its argument and it will either: return a non-Optional if a value was indeed there or make the test fail if the Optional was nil.
Now let’s talk of what might be my favorite feature of Swift Testing!
Tests with arguments
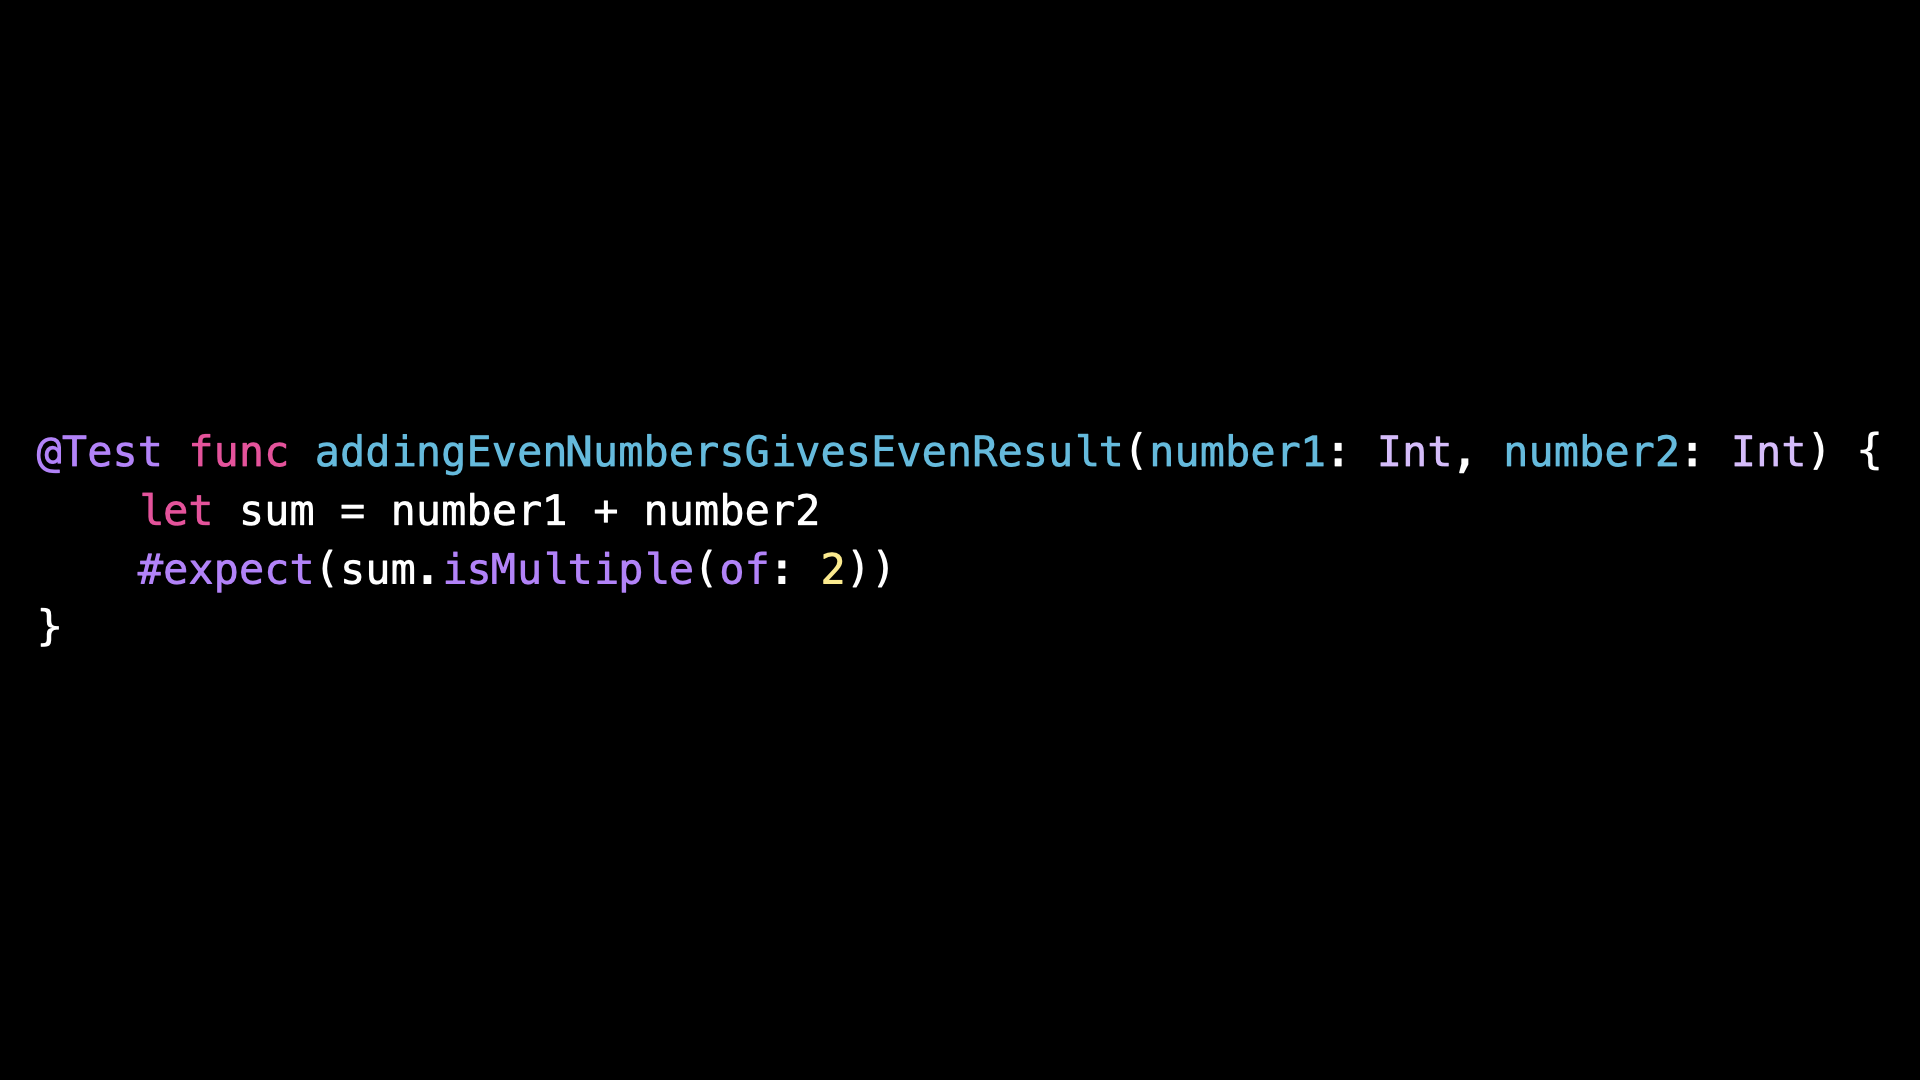
With Swift Test it’s possible for a test function to declare one or more arguments:
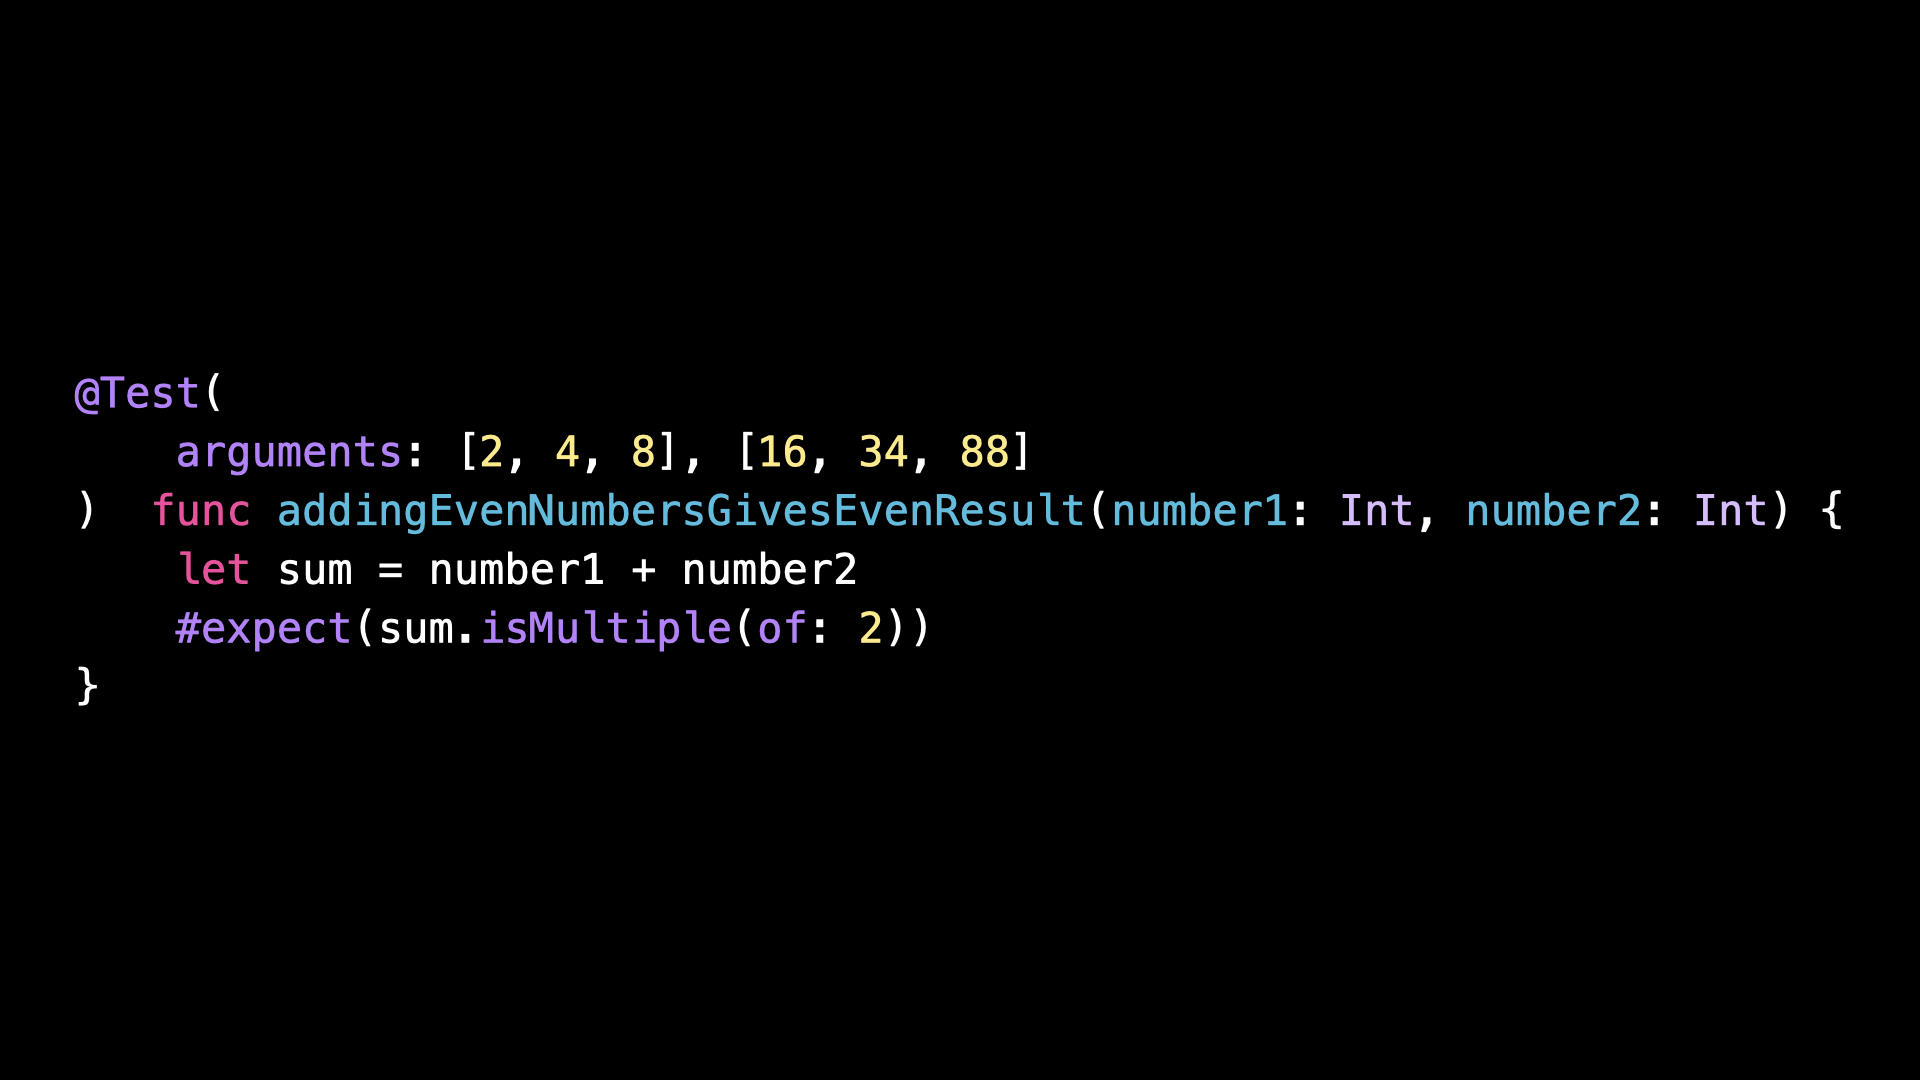
The values for these arguments are then specified through the parameter arguments of the @Test macro:
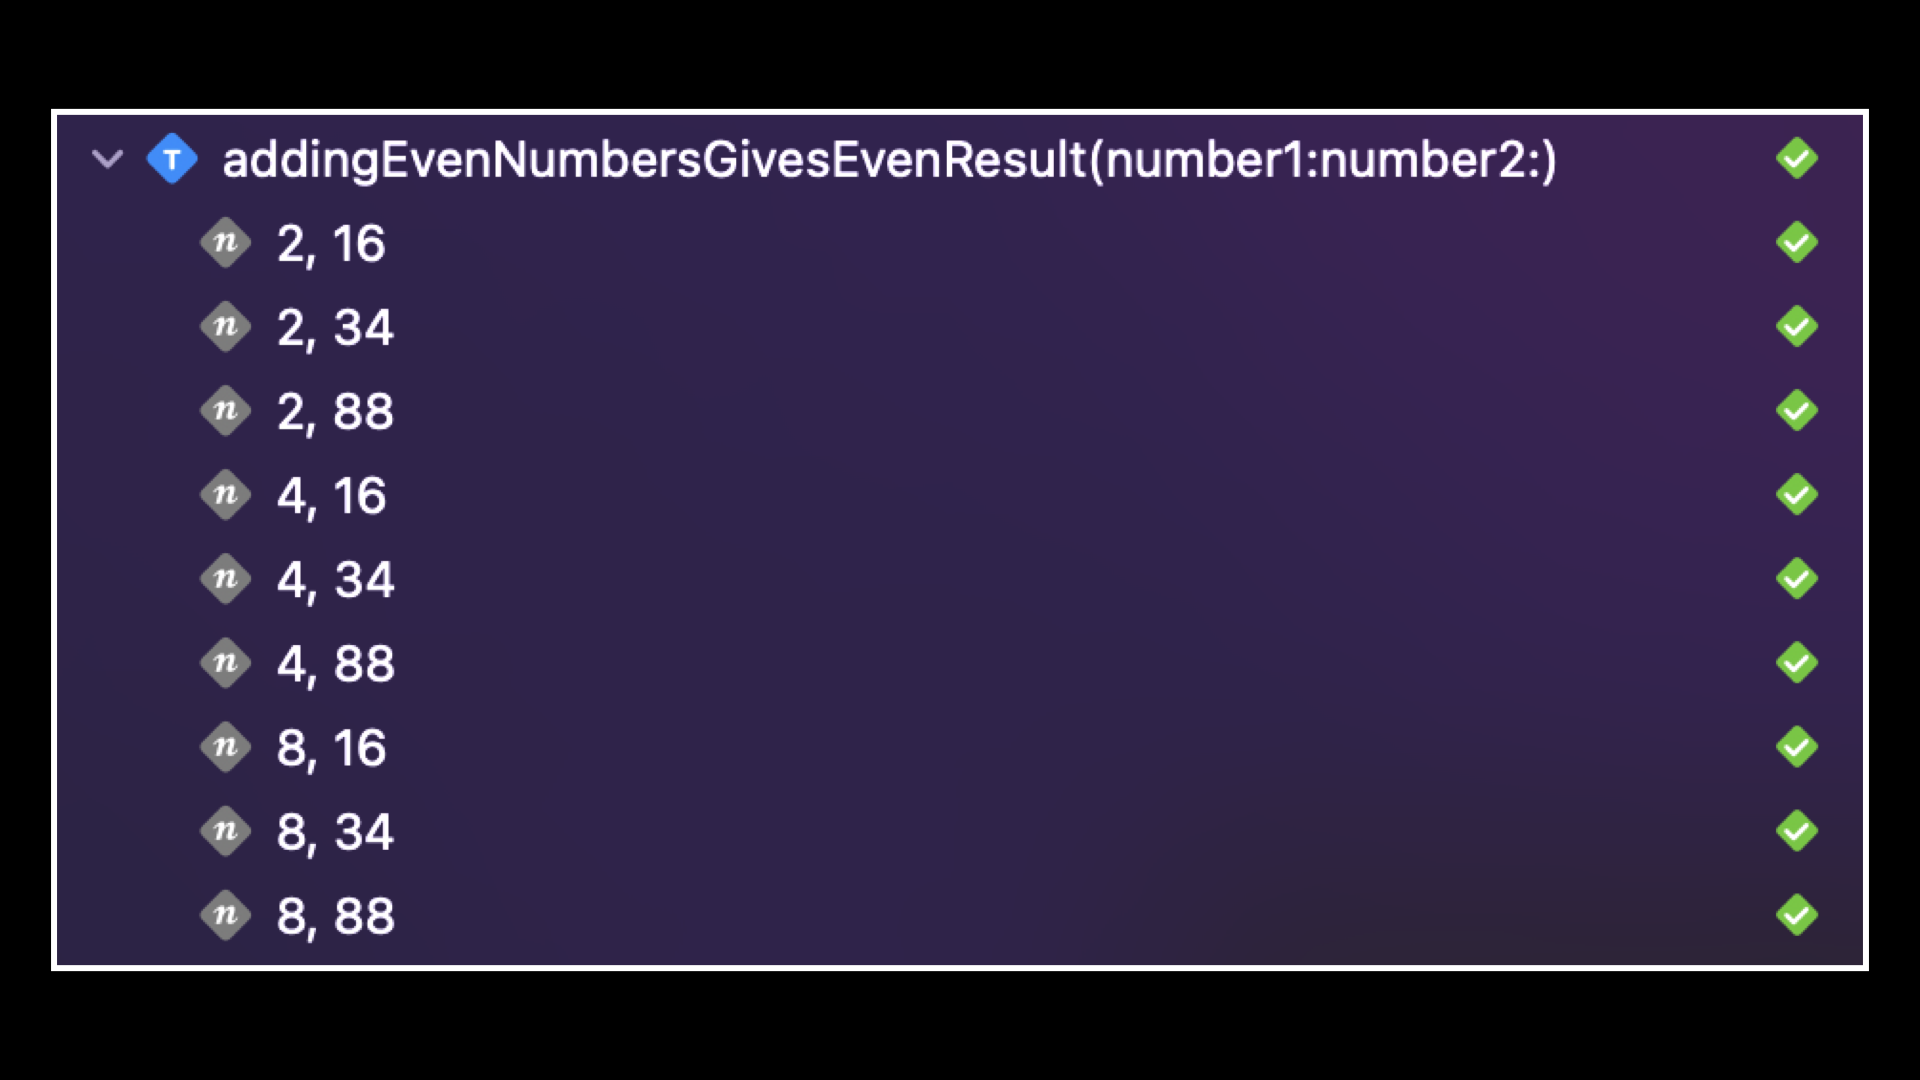
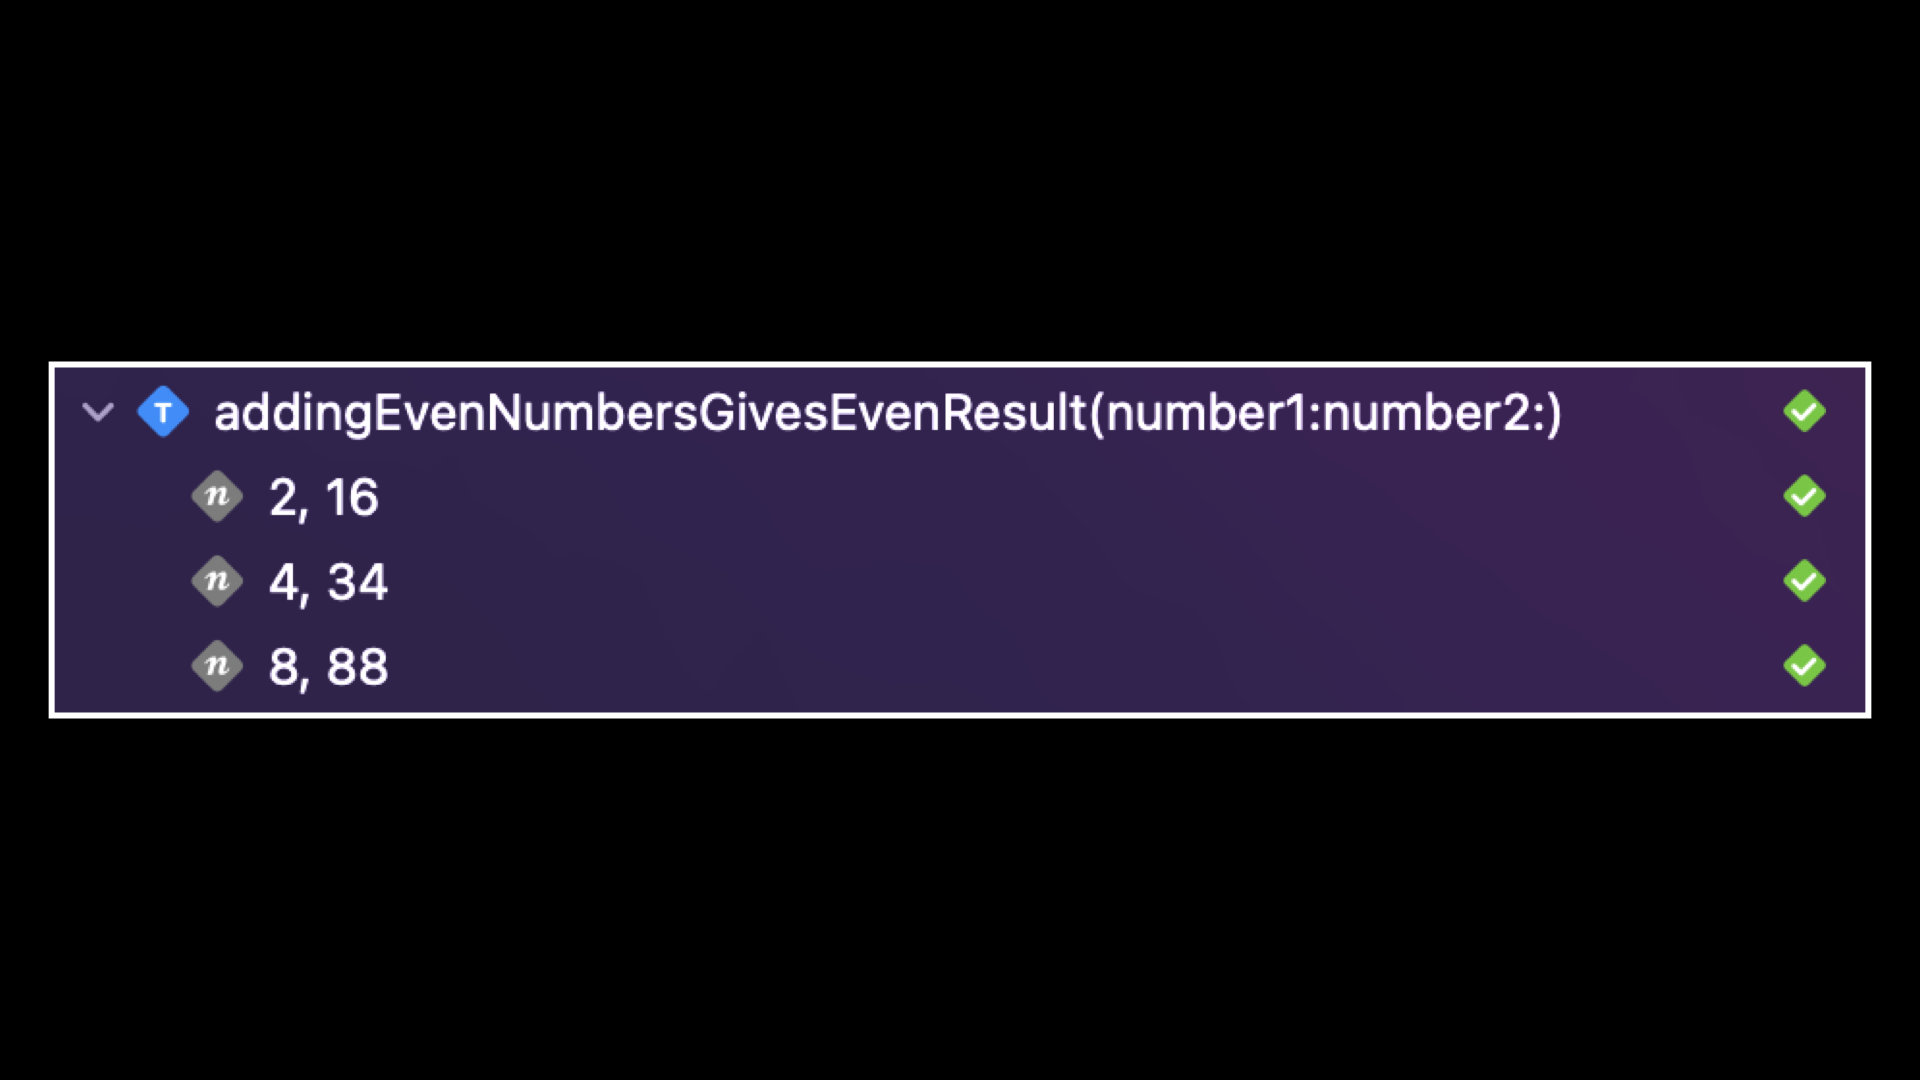
And what’s really great is that from this data, Swift Testing will automatically generate one test for each possible combination of the arguments and then run them all in parallel:
This is a really powerful feature because it allows you to create a really good test coverage of your code with minimal effort.
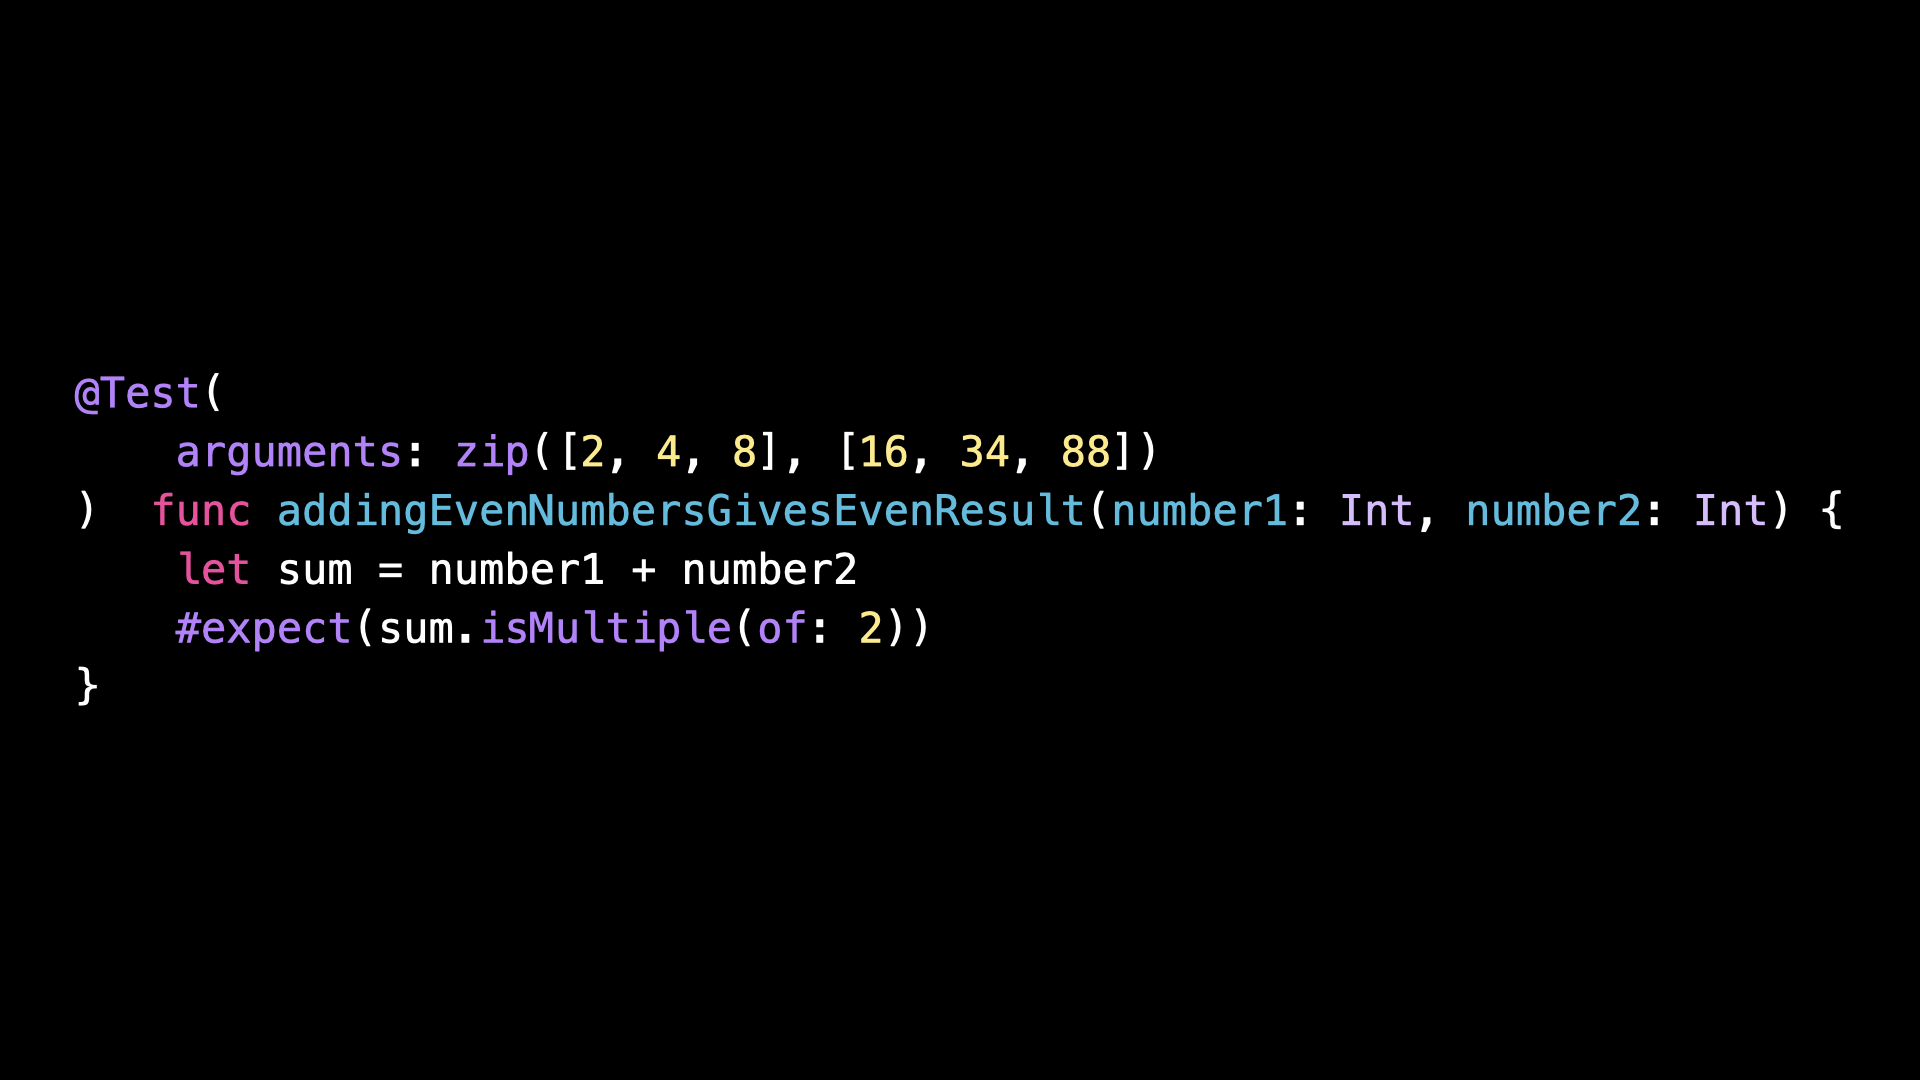
And by the way, if needed it’s also possible to opt out of this behavior: you can use the zip() function so that only the combinations of arguments that you’ve defined will be used to create the tests:
Conclusion
And that’s it, we’ve covered what you need to know to get started with Swift Testing and make the most of it: how to create a test, how to write assertions and how to parametrize your tests.
Of course, Swift Testing offers many more advanced features: the ability to run tests in parallel, to group them using Tags, to run a test only when a specific condition is met, to assert expected errors or even to disable a momentarily failing test.
If you’re curious to learn more about these features, I recommend watching the WWDC sessions and checking out the full documentation.
Here’s the code if you want to experiment with it:
import Testing

@Test func filterOddsFromOneToFive() {
    let data = [1, 2, 3, 4, 5]
    let expected = [2, 4, 5]
    #expect(filterOdds(data) == expected)
}

@Test func stringParsesToInt() throws {
    let data = "2"
    let parsed = try #require(Int(data))
    #expect(parsed == 2)
}

@Test(
    arguments: [2, 4, 8], [16, 34, 88]
)  func addingEvenNumbersGivesEvenResult(number1: Int, number2: Int) {
    let sum = number1 + number2
    #expect(sum.isMultiple(of: 2))
}
