How to hide private information
You’re more of a video kind of person? I’ve got you covered! Here’s a video with the same content than this article 🍿
Many iOS apps display information that’s very private to their user.
It could be the amount of money in their bank account, the medical appointments they’ve made or even, in some contexts, their purchase history.
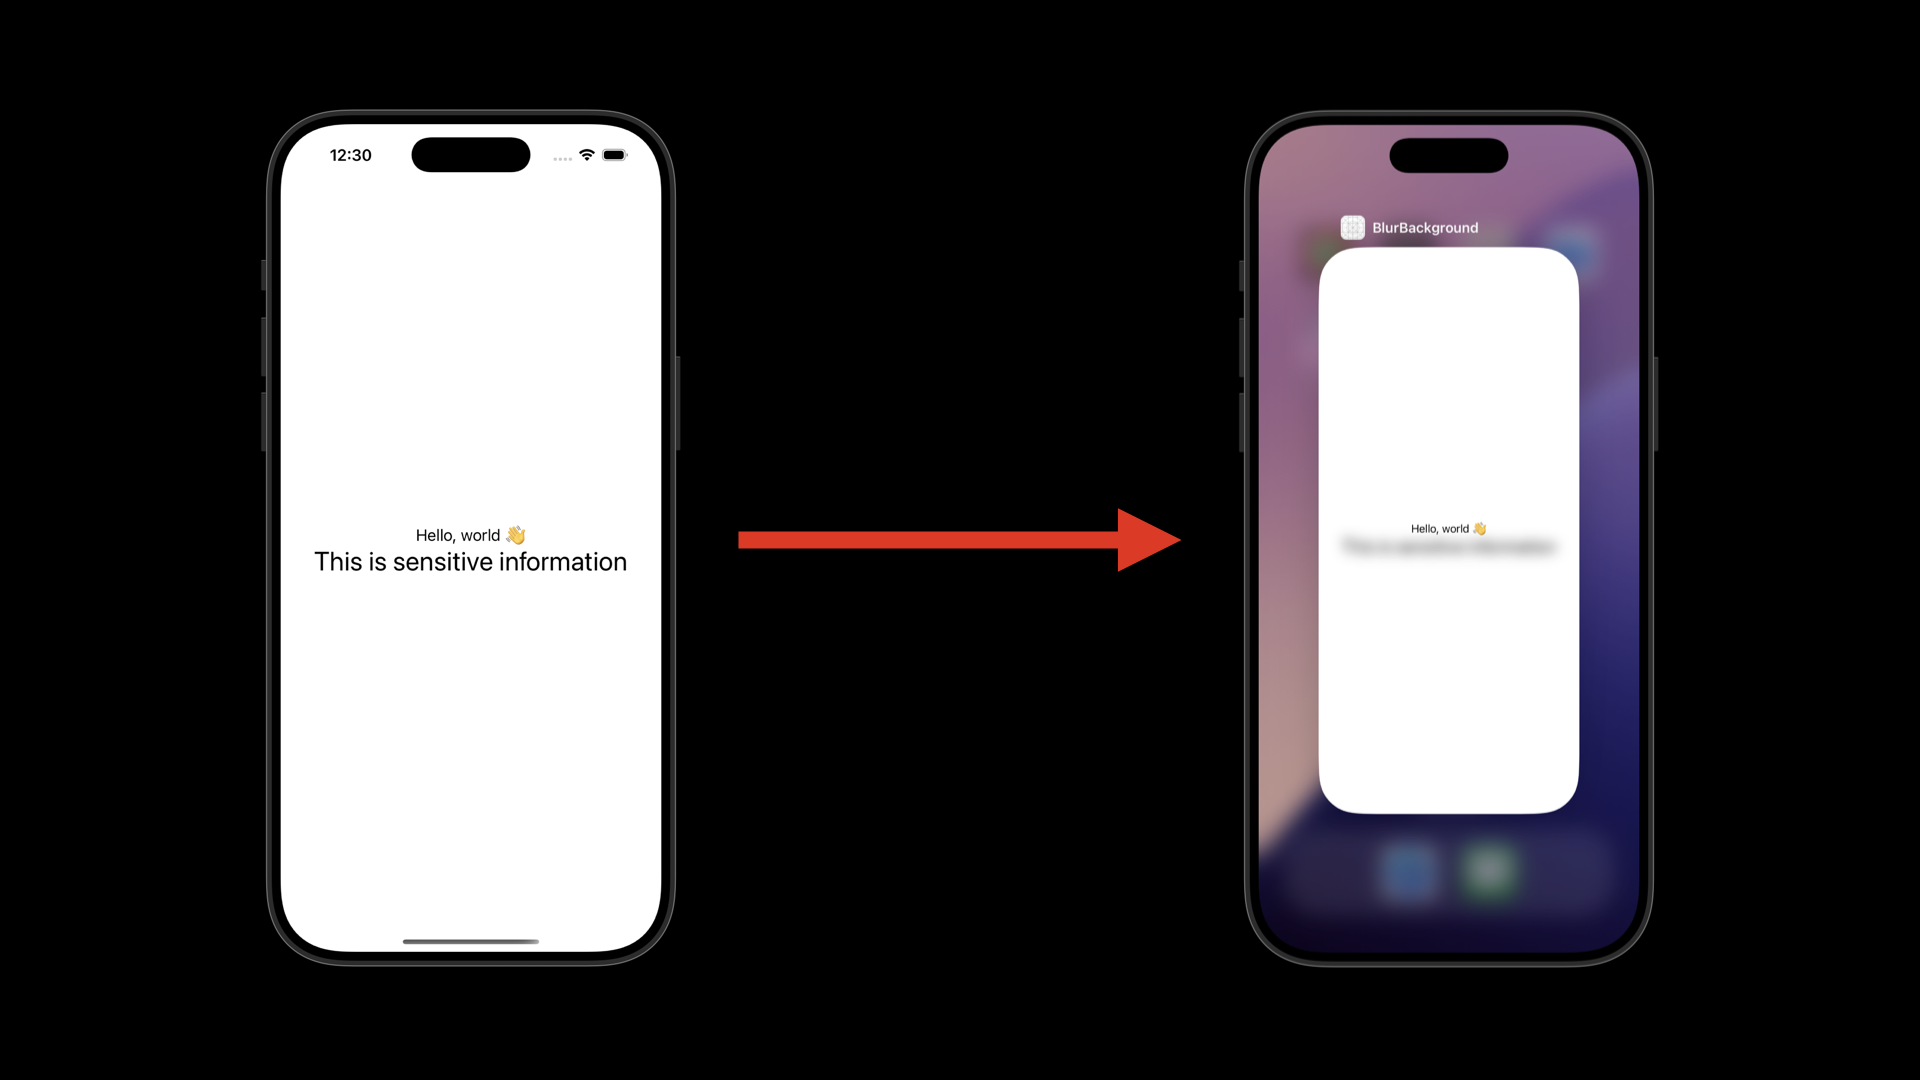
So it’s a good practice to hide such information when the app goes into the background, so that it isn’t visible when the app shows up in the app switcher:
In this article, I’m going to show you how easy it is to implement a view modifier that automatically implements this hiding logic!
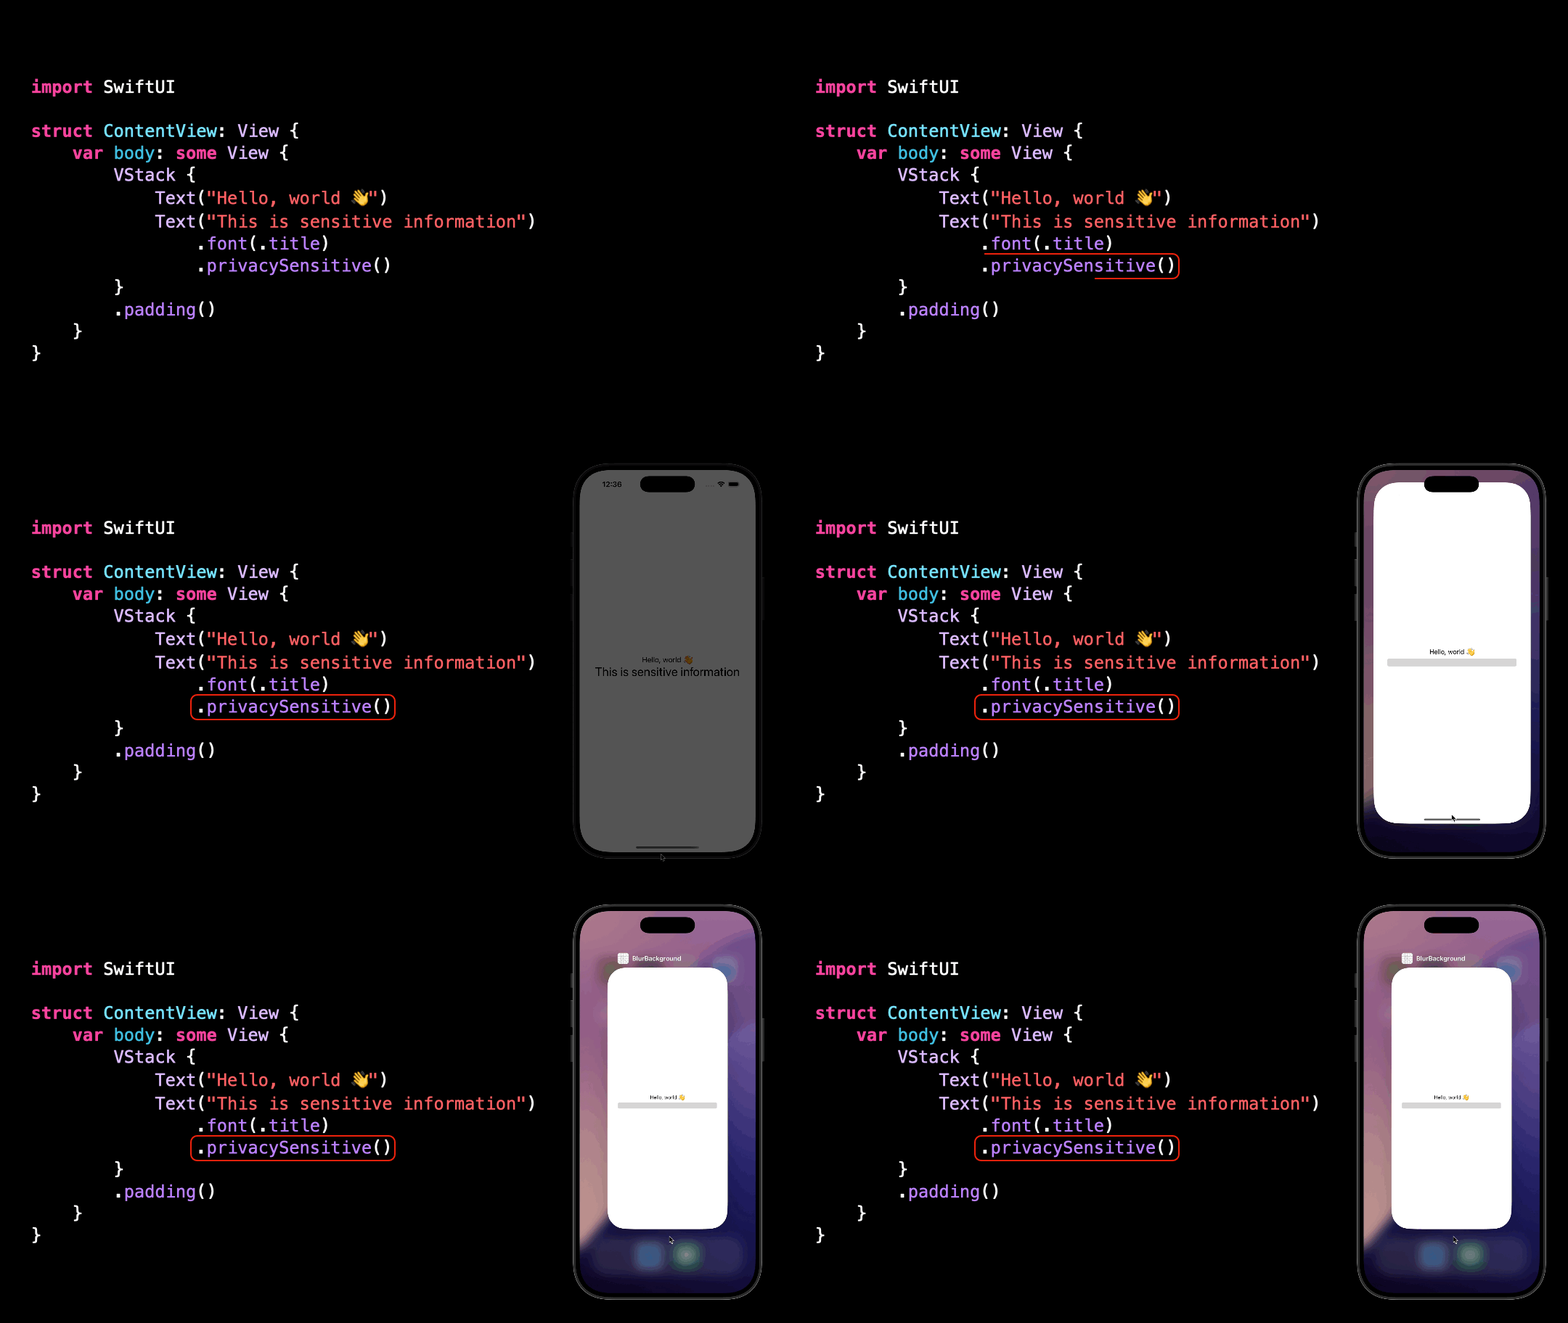
Before we start, I want to point out that SwiftUI does offer a built-in modifier called .privacySensitive() that automatically implements this logic:
However, this modifier doesn’t give you a lot of control over the visuals of how the information gets hidden, so knowing how to implement your own version is still very relevant.
So let’s say that we want to hide the sensitive information by blurring it.
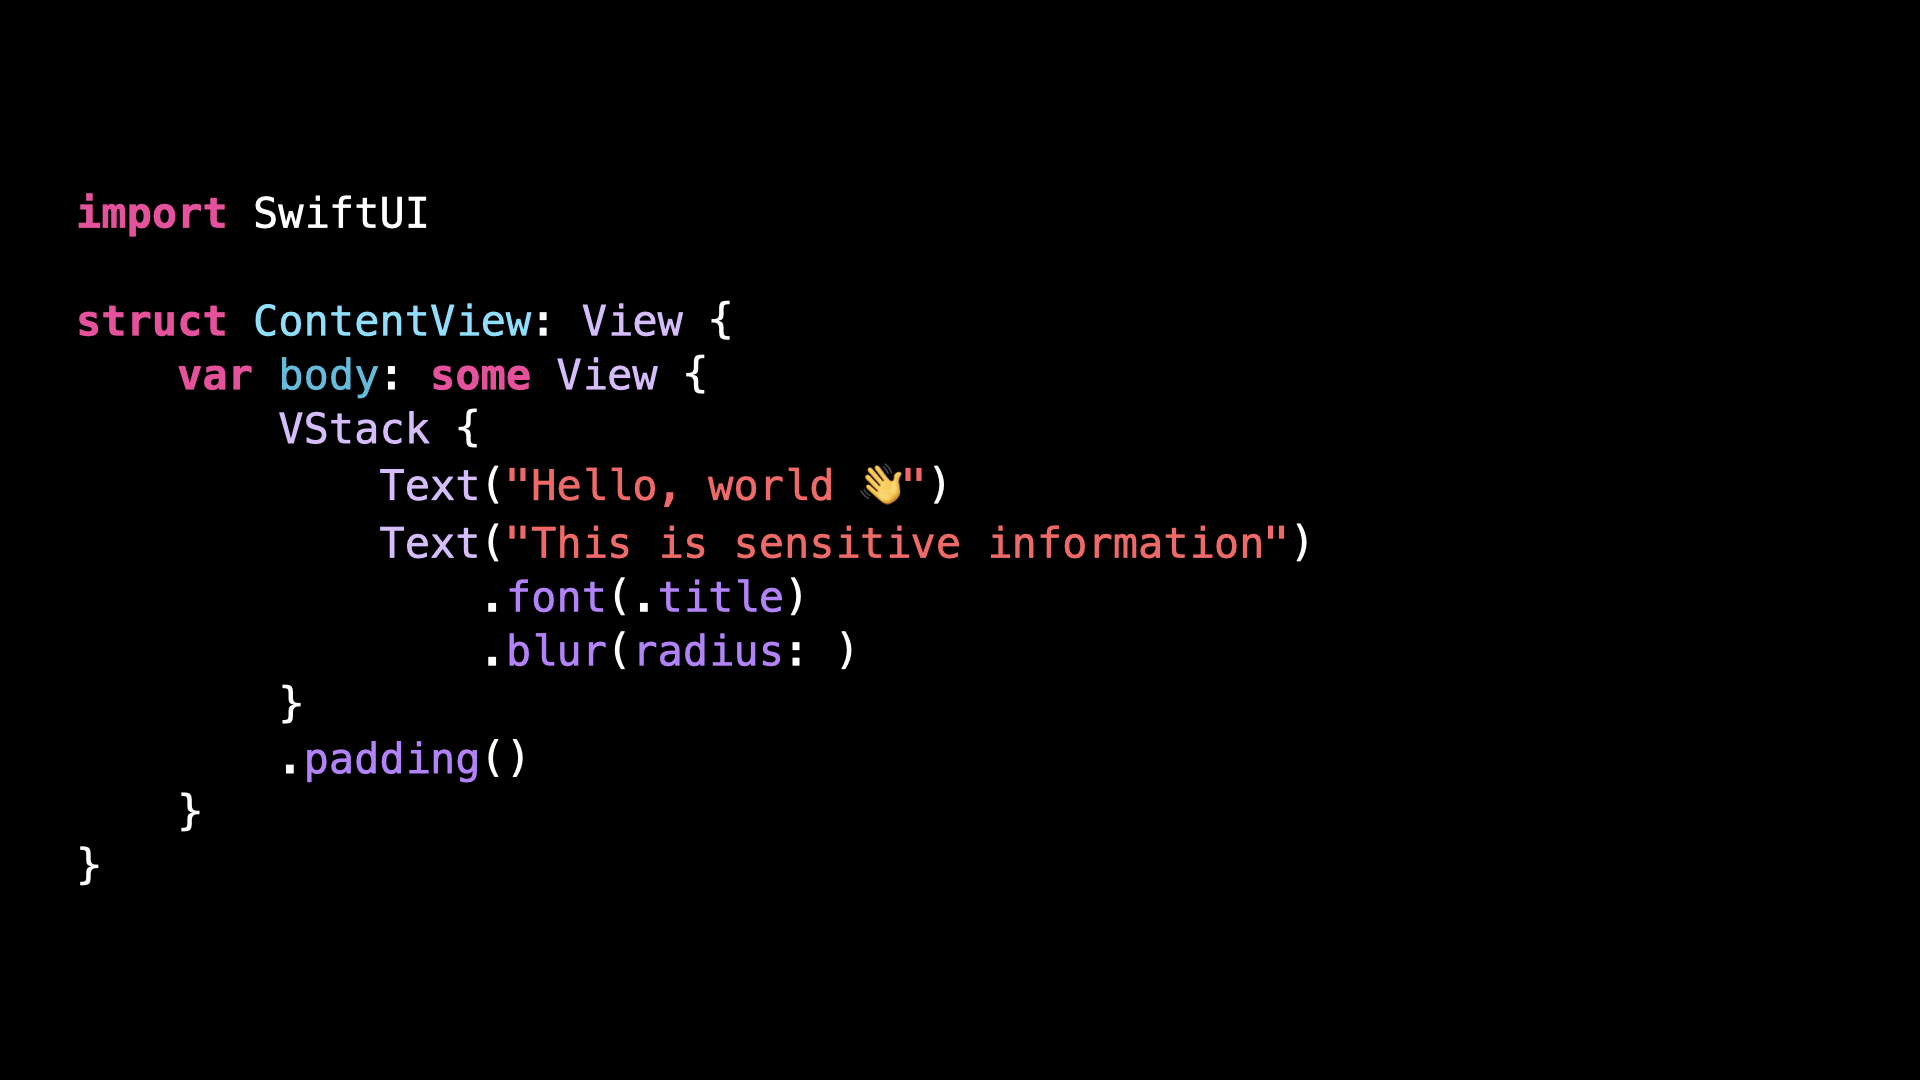
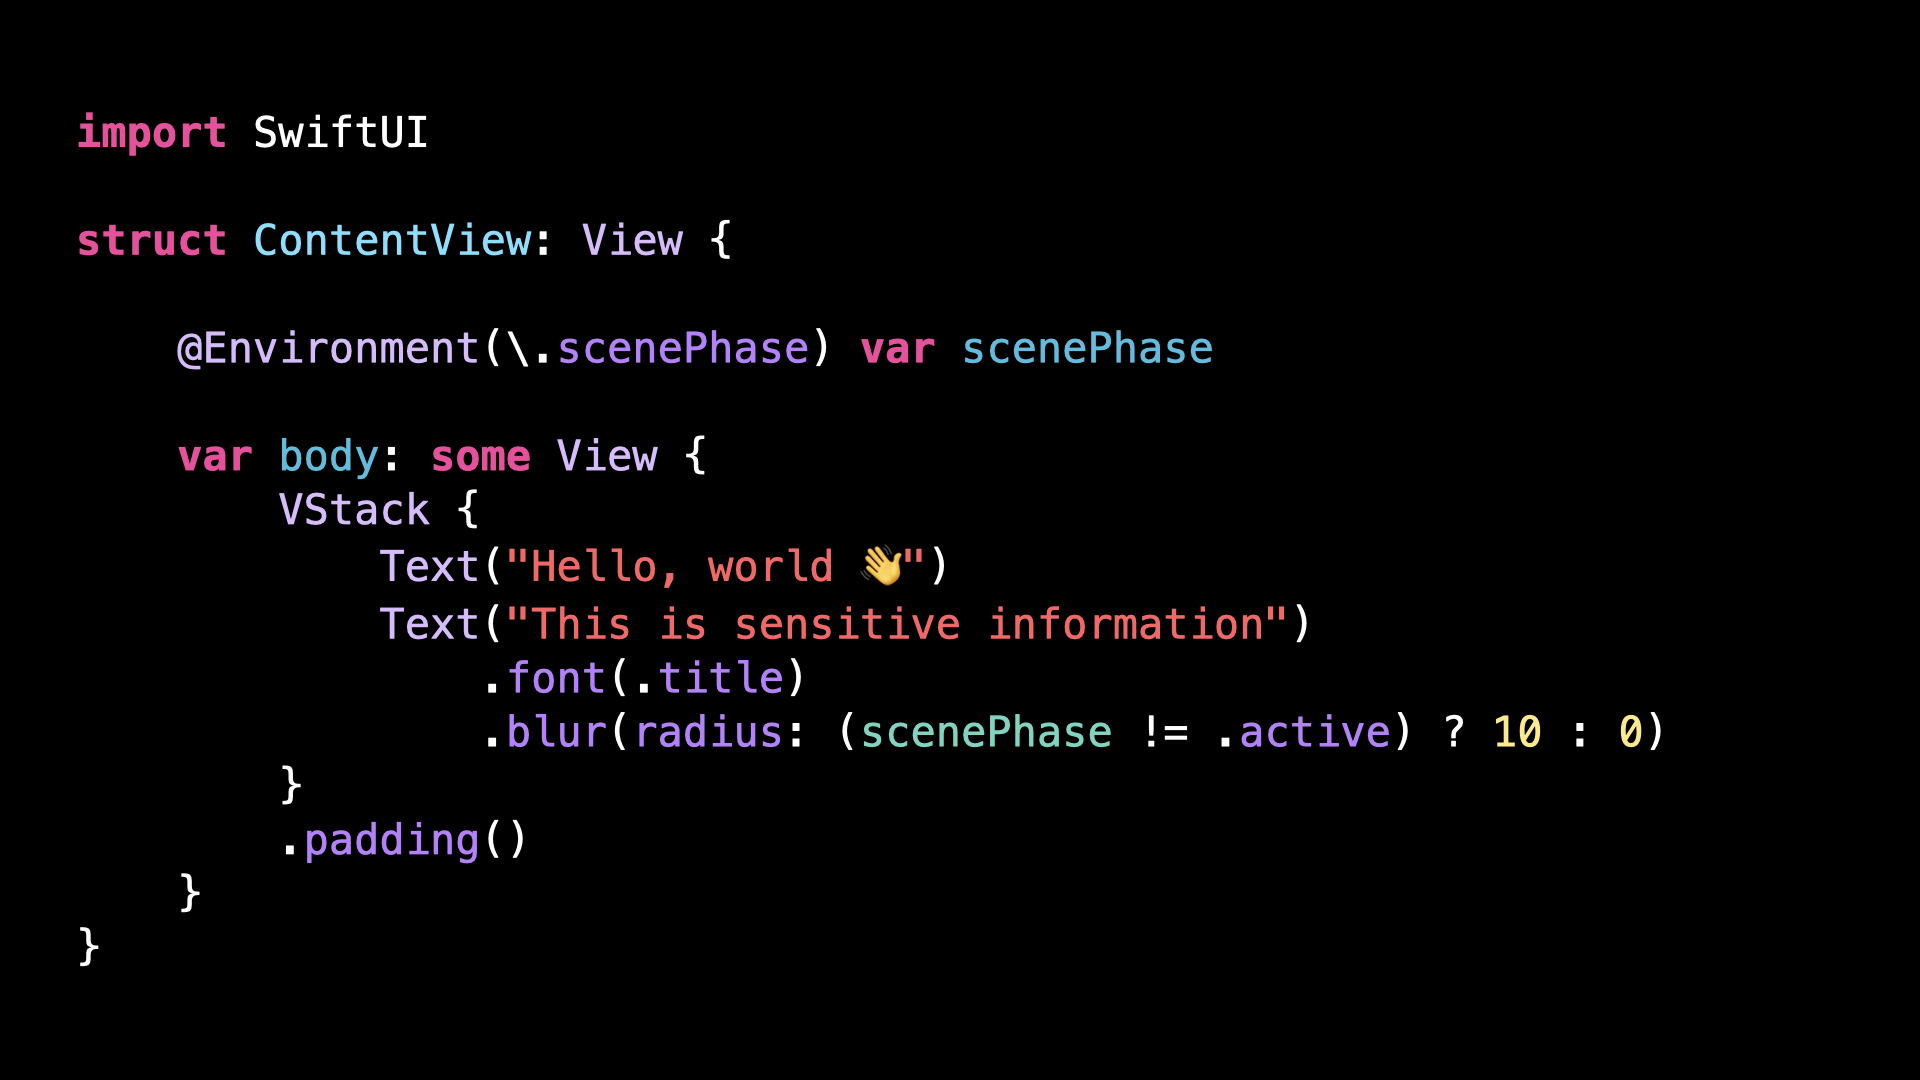
For this we’ll need to use the modifier .blur(radius:):
Now how about the argument that we pass to this modifier?
It should be either 0 when the app is active, or some predefined blur radius when the app isn’t active.
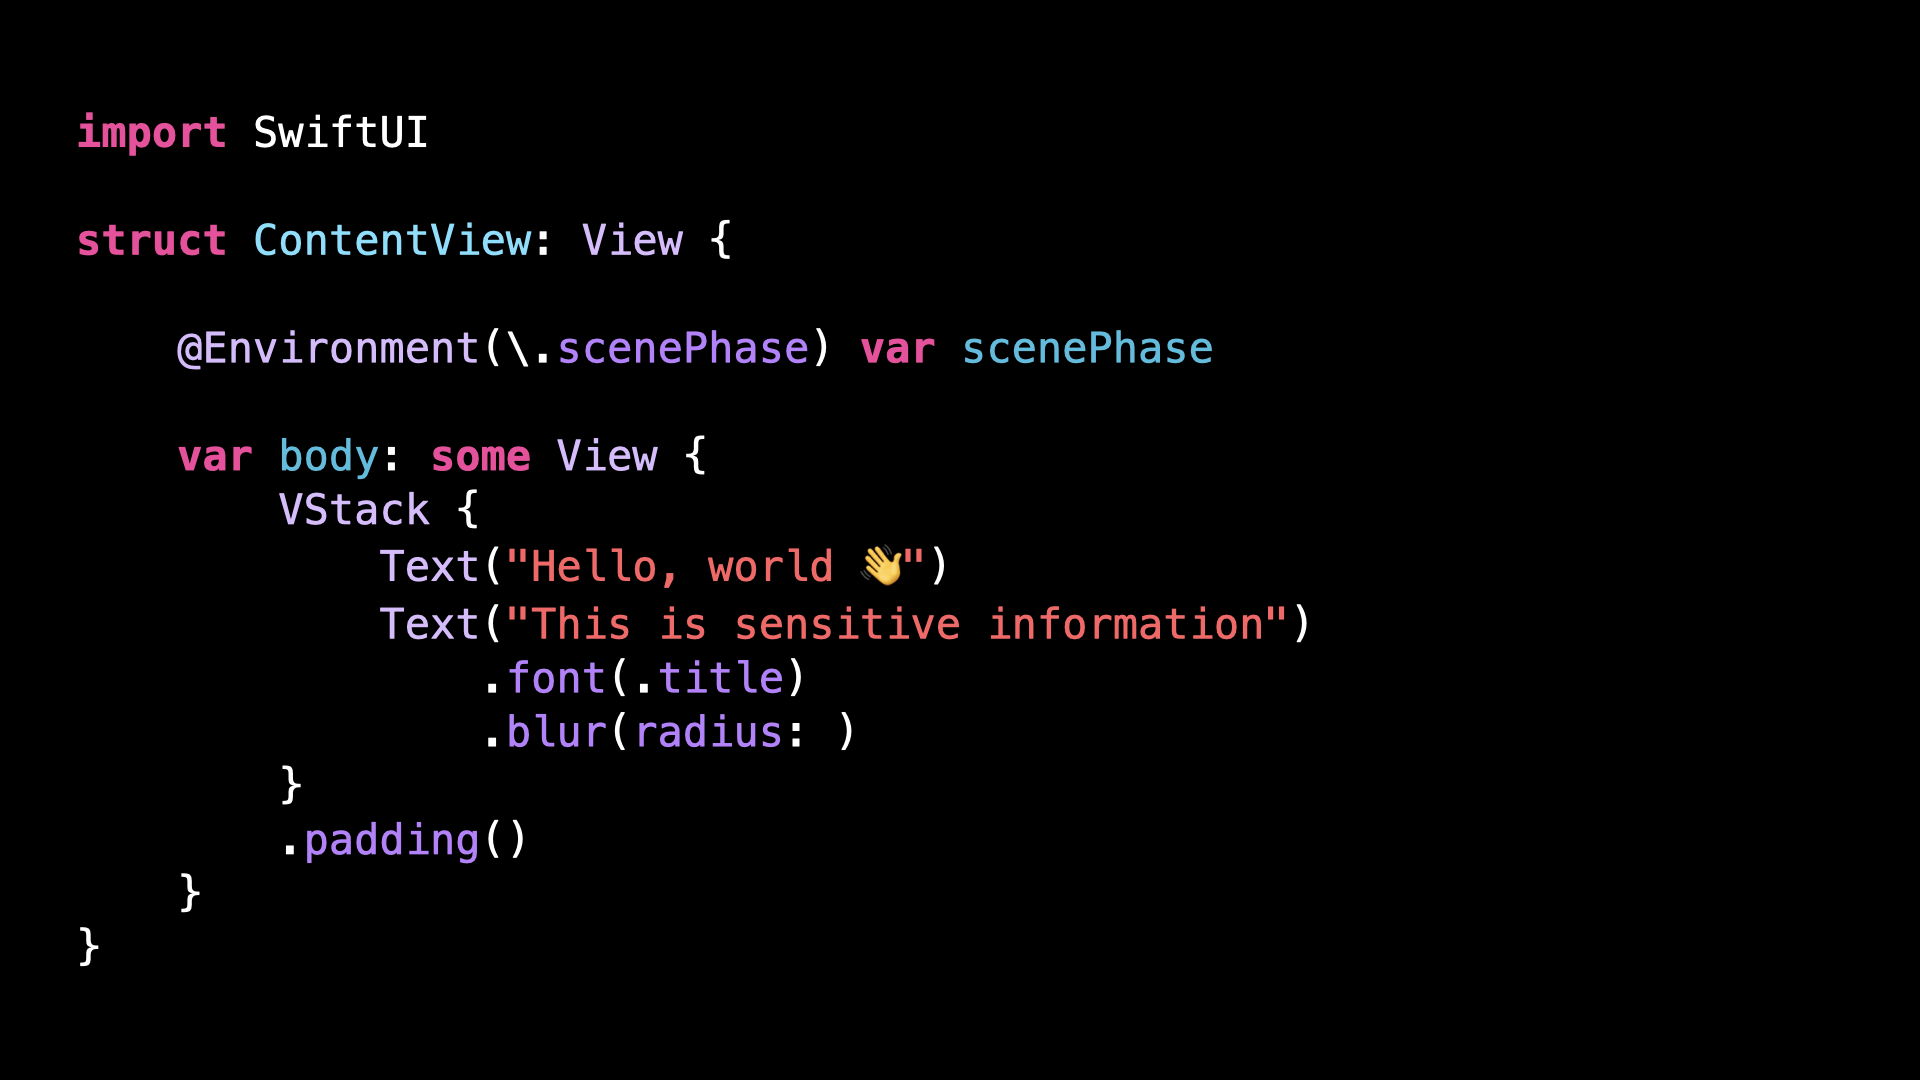
To implement this, we’re going to retrieve from the Environment what SwiftUI calls the scenePhase:
It’s through this property that we are able to tell whether the app is currently active or not.
So let’s use it in order to implement the argument of the modifier.
Finally, let’s also add an .animation() modifier, so that the effect looks more visually pleasing:
If we give it a try, we can see that indeed the sensitive part of the view does get blurred as soon as the app isn’t active!
And for the final step, let’s encapsulate that logic into a ViewModifier that can be easily re-used:
That’s it, we’ve implemented a ViewModifier that can now be used anywhere in our app when we display sensitive data!
Of couse, blurring the content is just one of many ways to hide something: depending on the situation we could also for example set its opacity to zero, or use a ZStack to overlay opaque content on top.
That’s all for this article, here’s the code if you want to experiment with it:
import SwiftUI

struct BlurView: ViewModifier {

    @Environment(\.scenePhase) var scenePhase

    func body(content: Content) -> some View {
        content
            .blur(radius: (scenePhase != .active) ? 10 : 0)
            .animation(.default, value: scenePhase)
    }
}

extension View {
    public func blurWhenAppNotActive() -> some View {
        modifier(BlurView())
    }
}

struct ContentView: View {
    var body: some View {
        VStack {
            Text("Hello, world 👋")
            Text("This is sensitive information")
                .font(.title)
                .blurWhenAppNotActive()
        }
        .padding()
    }
}