The easiest way to use SwiftUI in a UIKit app
You’re more of a video kind of person? I’ve got you covered! Here’s a video with the same content than this article 🍿
Advertisement

Save over 50 hours of app development time with SwiftyLaunch
SwiftyLaunch is an iOS App Generator. Select all the app features that you need. Press on "Generate". Watch SwiftyLaunch build your next iOS App's starter code.
One-time purchase. Lifetime updates.
Sponsors like SwiftyLaunch really help me grow my content creation, so if you have time please make sure to check out their product: it’s a direct support to my content creation ☺️
If you work on a UIKit app, there’s a very high probability that this app contains a UITableView or a UICollectionView.
But did you know that since iOS 16, there’s an API that lets you very easily configure the cells of a table view or a collection view using SwiftUI?
This API is called UIHostingConfiguration, and it allows you to define the content of a cell through a SwiftUI view instead of a UIKit view:
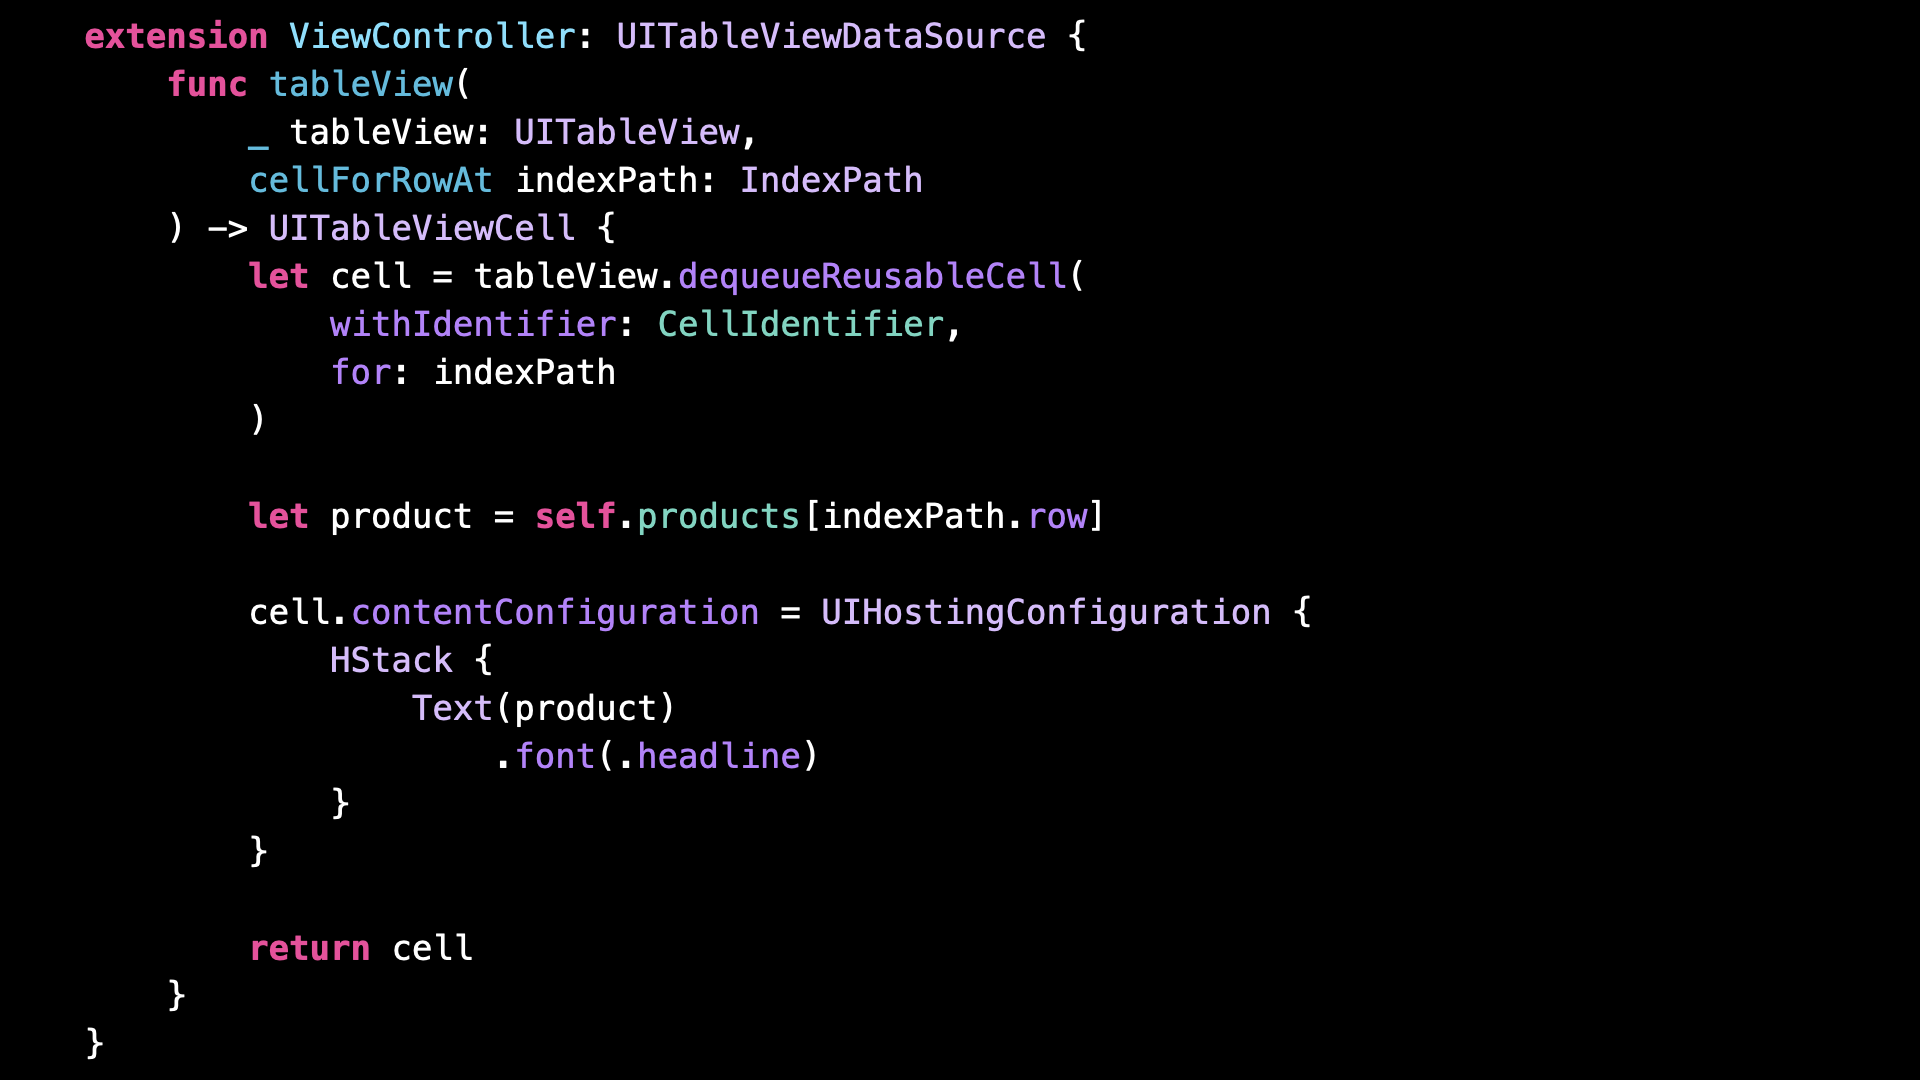
And not only does it allow you to display static information in the cell, but it also lets you create controls that the user will be able to interact with!

As you can see, this API is extremely easy to handle, which makes it the perfect gateway to start introducing SwiftUI inside a UIKit app.
And because it’s been available since iOS 16, more and more apps are going to be able to use it as time passes 😌
That’s all for this article, here’s the code if you want to experiment with it:
cell.contentConfiguration = UIHostingConfiguration {
    HStack {
        Text(product)
            .font(.headline)

        Spacer()

        Button("Add to cart") {
            // ...
        }
        .buttonStyle(.bordered)
    }
    .swipeActions {
        Button(role: .destructive) {
            // ...
        } label: {
            Label("Delete", systemImage: "trash")
        }
    }
}